A Blast from the Past
Way back in 2006 when the Iraq War was in full swing and Arrested Development was finishing up its first run, I made an agreement with my (at the time) girlfriend (now wife) that if I got rid of a bunch of my old PCs, I could get a brand spanking, shiny, new Mac Pro. The first of the new aluminum ones which was rocking four cores at 2.66 GHz, a big pile of RAM, and even a SATA hard drive.
That was twelve years ago, and although I had upgraded the machine before, it was looking a little long in the tooth. It was clear that I was going to need to do some major surgery on this beast if I was going to keep it going in the future.
A glance on Ebay shows they now sell for somewhere in the $80 to $150 range, which is a long way from the $2500+ (about $3100 in 2018 dollars) that I paid for it. This is for one of the first 64 bit machines in one of the nicest looking chassis of any system that I’ve ever owned. So what can we do with this machine?
The first time I upgraded it, in 2009, was to replace the original terrible nVidia card that was causing a lot of issues. I ended up getting an ATI Radeon HD 4870 with 512 MB which seemed to work well. In 2011, I’d upgraded the RAM to 16 GB, and added a stonking fast (for the time) 240 GB SSD drive. The onboard SATA controller is only SATA-2, which is great for spinning disks, but ideally one would want it to be faster for SSD. This particular SSD drive was only SATA-2, so that wasn’t really a problem. Somewhere along the way I also shoved in a couple of 750 GB SATA drives which I was holding copies of all of our home movies and photos.
So what could we upgrade in 2018?
On the operating system side, the machine was stuck at OSX Lion because Apple had decided to stop supporting the first gen Mac Pros in 2012. This had to do with the original EFI bootloader being 32 bit instead of 64 bit. There wasn’t really anything wrong with the bootloader though, and along the way the community had managed to patch it to make it still work. That meant I could upgrade all the way to OSX El Capitan.
Upgrading it, however, ended up being quite the chore. The 240 GB drive had quite a bit of data on it, and it required putting a copy of El Capitan on the disk before running through the hacky upgrade process. Somewhere along the way it ended up running at of disk space, but because of the hacked bootloader, it didn’t want to boot back into Lion. I ended up putting the machine in Target Disk mode and connected to it through my old MacBook Pro on the Firewire 800 port, but that took a couple of days due to having to order a new cable from Amazon. With some space freed up, I was able finish the installation and El Capitan works like a charm.
Unfortunately with macOS Sierra, High Sierra, and Mojave, Apple has yet again abandoned its old machines and now requires an extension to the Intel chipset called SSE 4.1. This is basically several new instruction codes that make things like floating point work more quickly. Unfortunately older processors, like the ones in the once swanky 2.66 GHz quad core Xeon CPUs, weren’t going to cut the mustard anymore. But no matter, is it even possible to upgrade the processors?
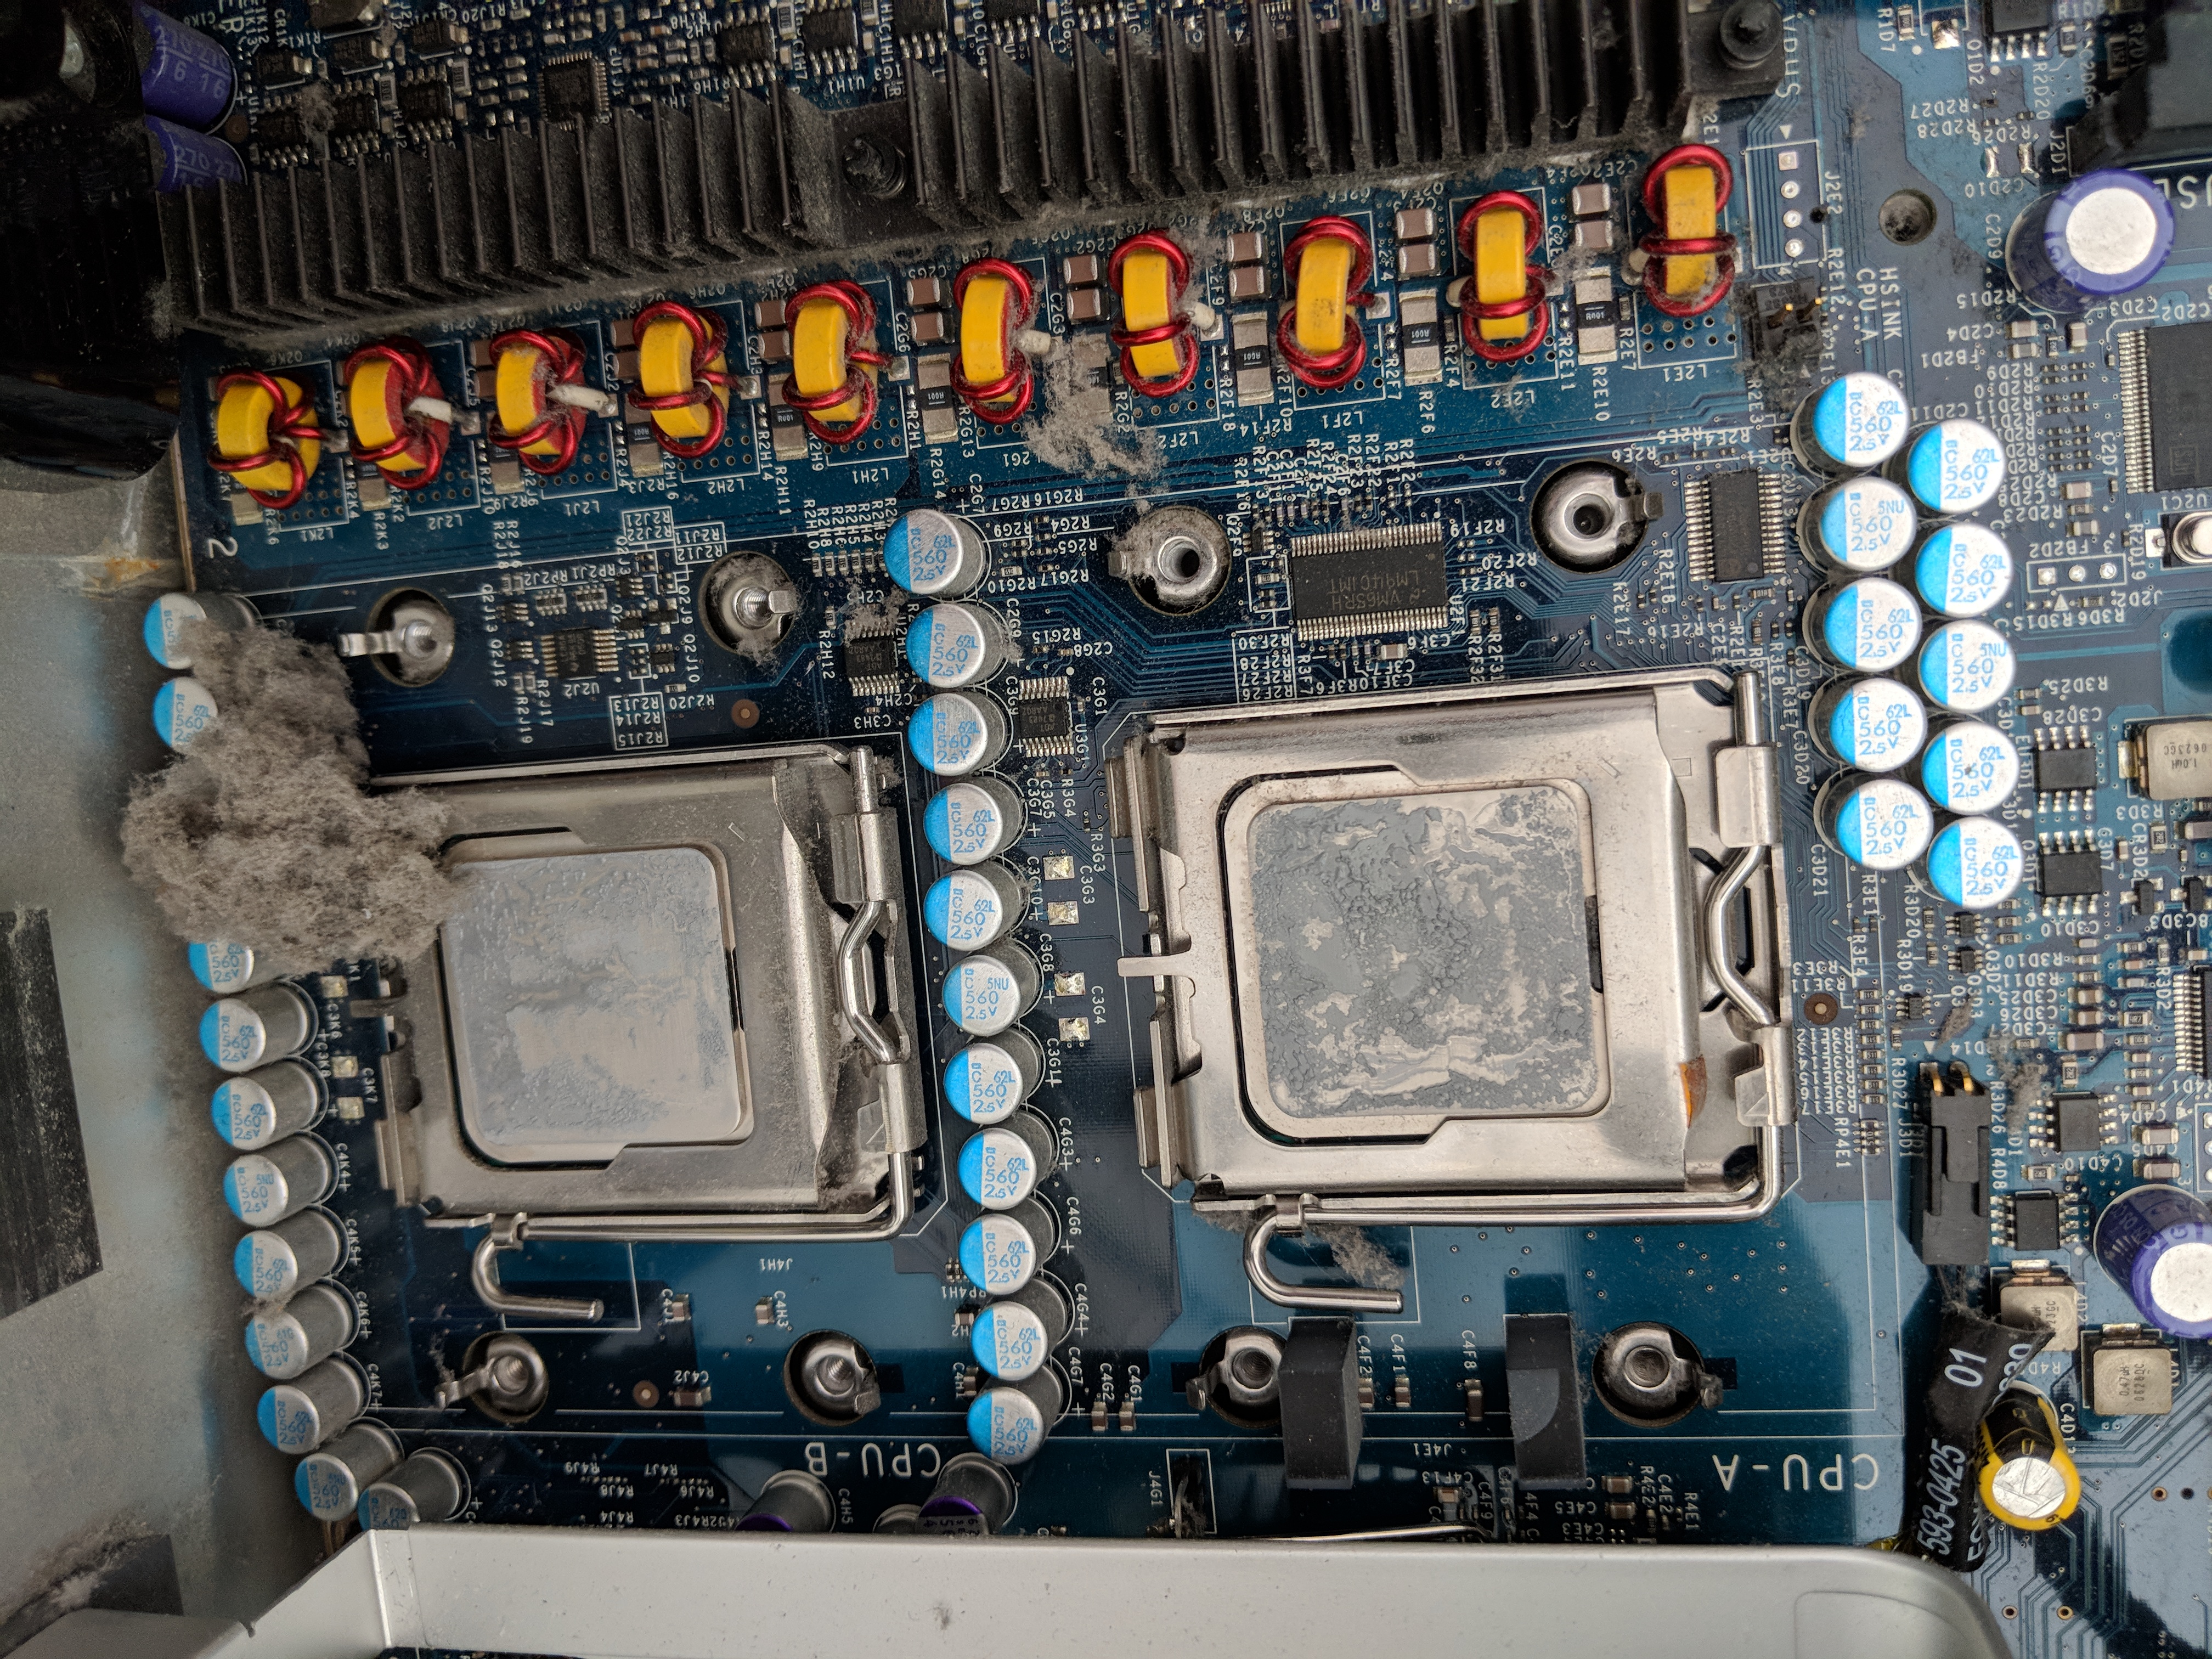
The answer is yes, you can upgrade them, but unfortunately not to the Penryn architecture which included the SSE 4.1 instructions. Even though there are processors that will fit into the same CPU sockets (LGA 771), they aren’t compatible. A pair of quad-core 3.0 GHz Clovertown Xeon processors can be had for $50 on Ebay though, so might as well upgrade to those (twice the cores!). To get them to work, you have to flash the firmware to make the machine think that it’s a Mac Pro 2,1 system, but flashing the firmware is pretty straight forward.
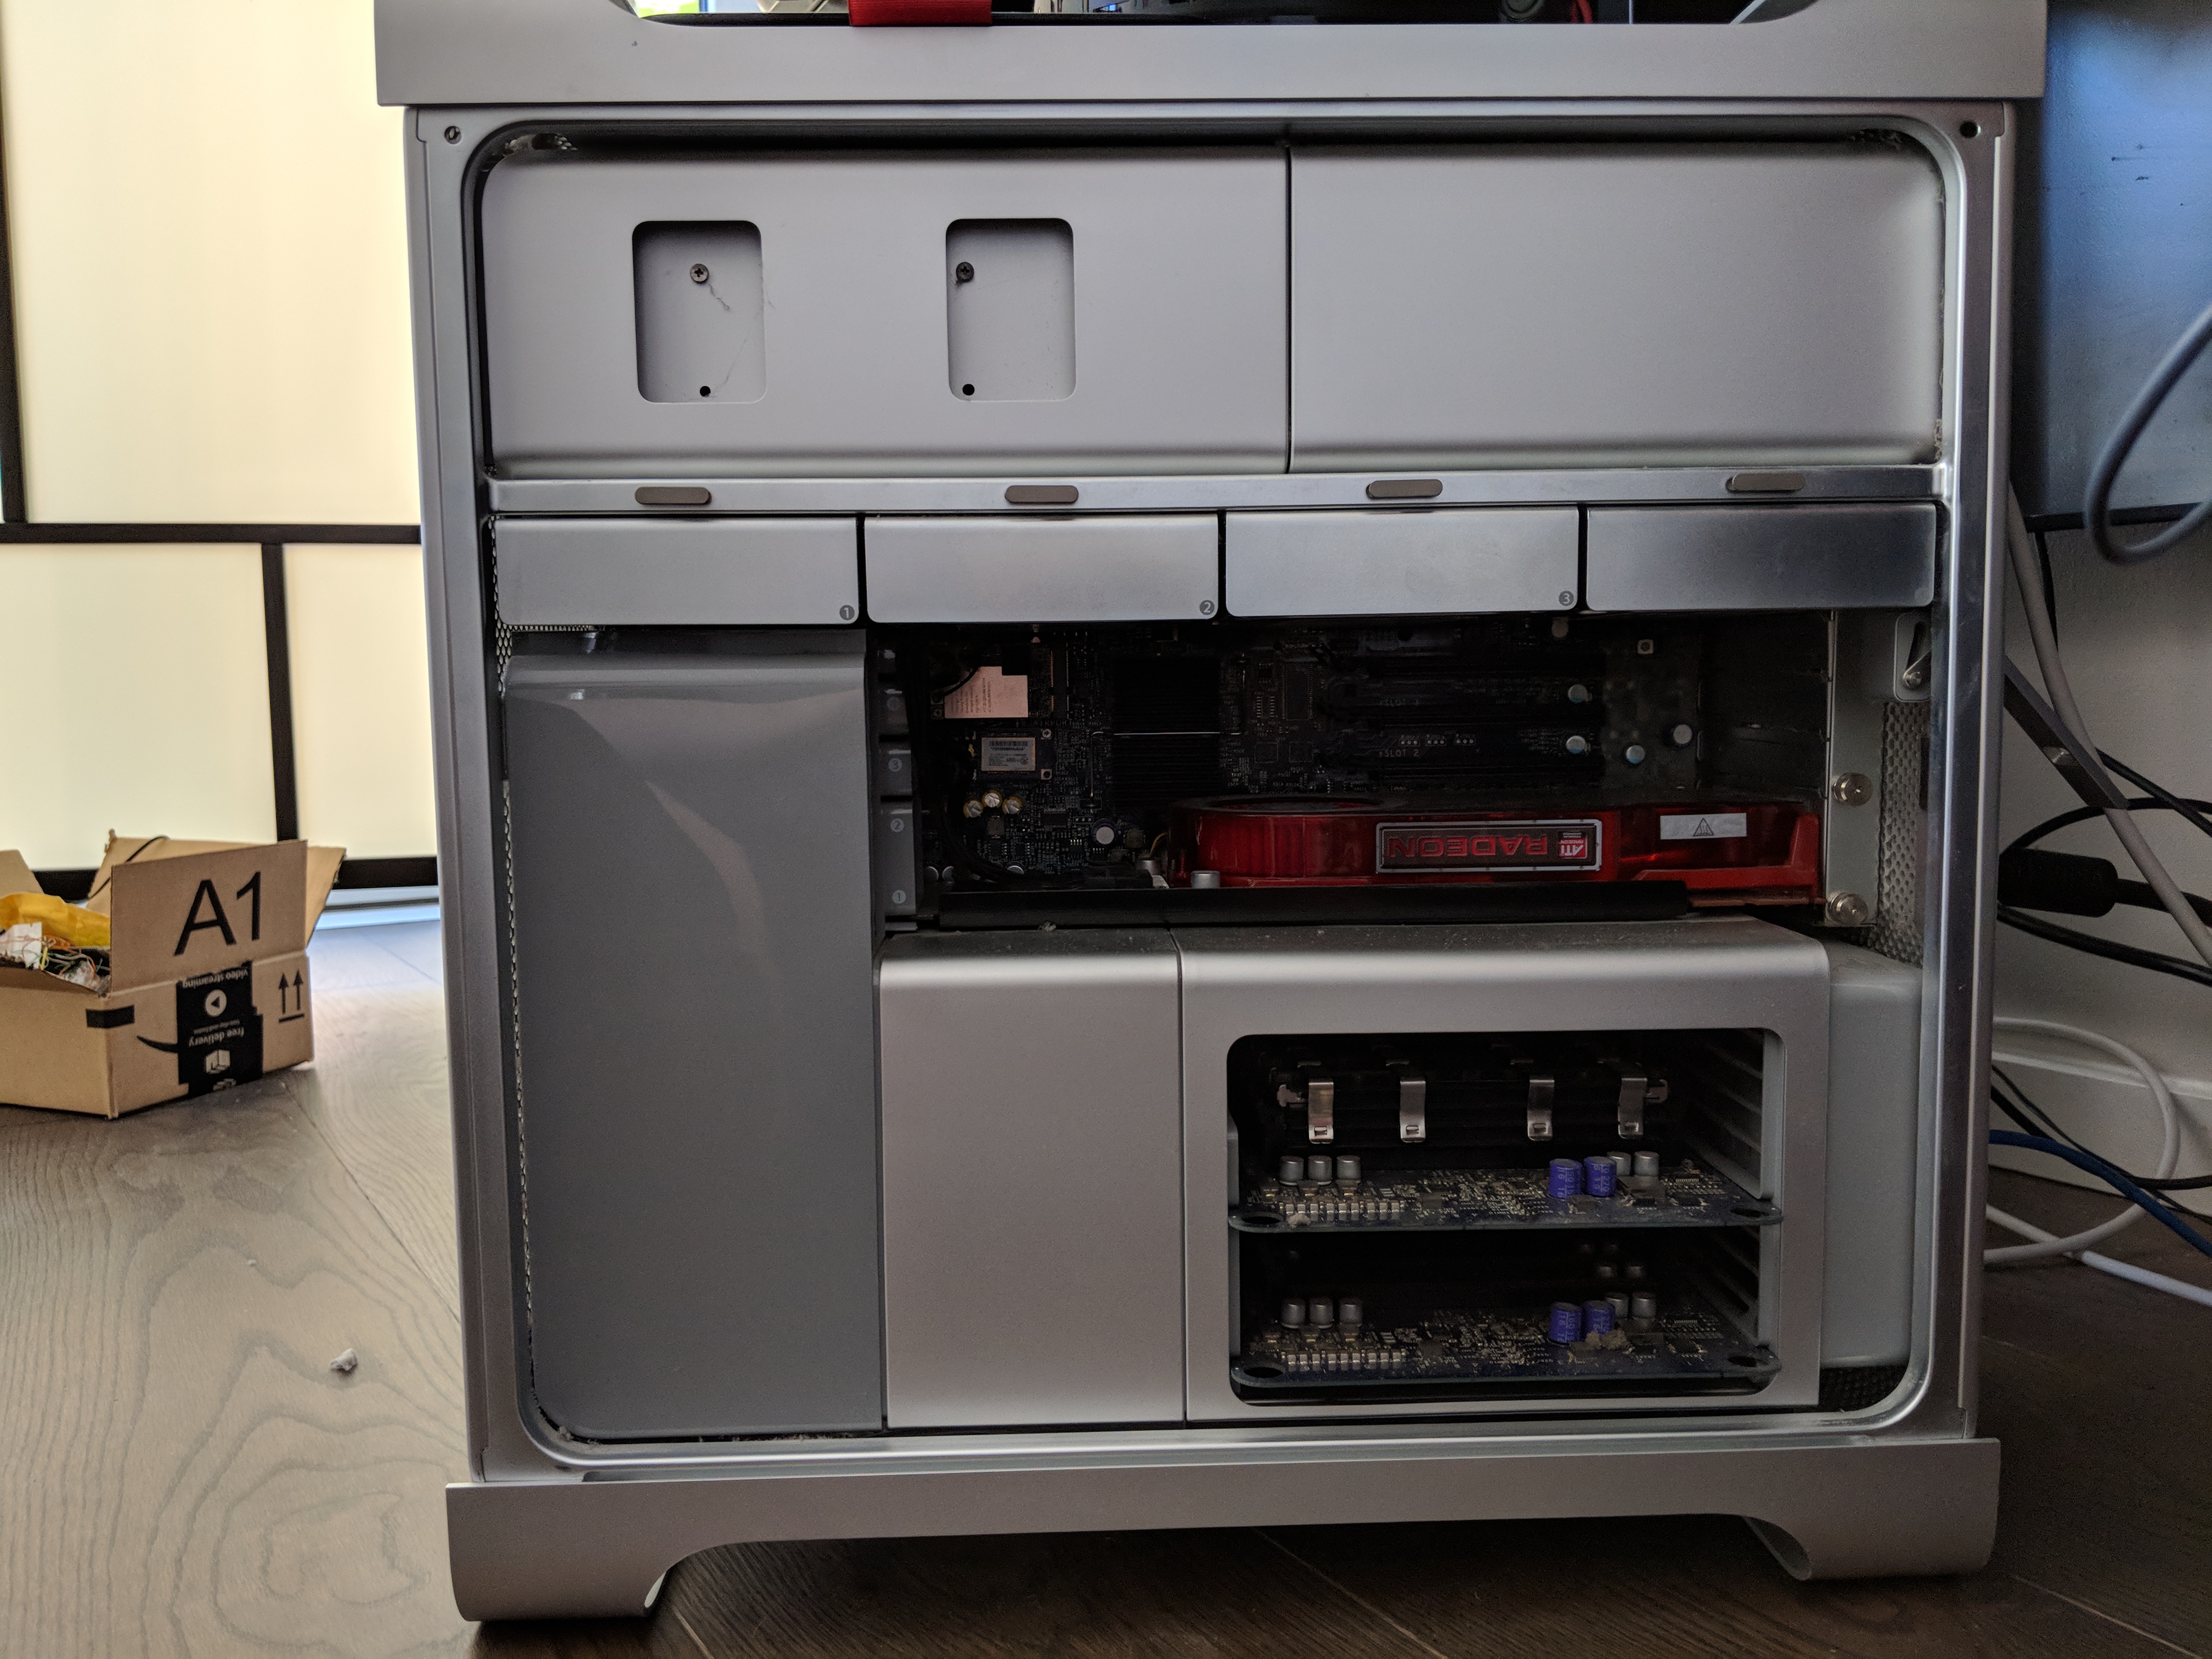
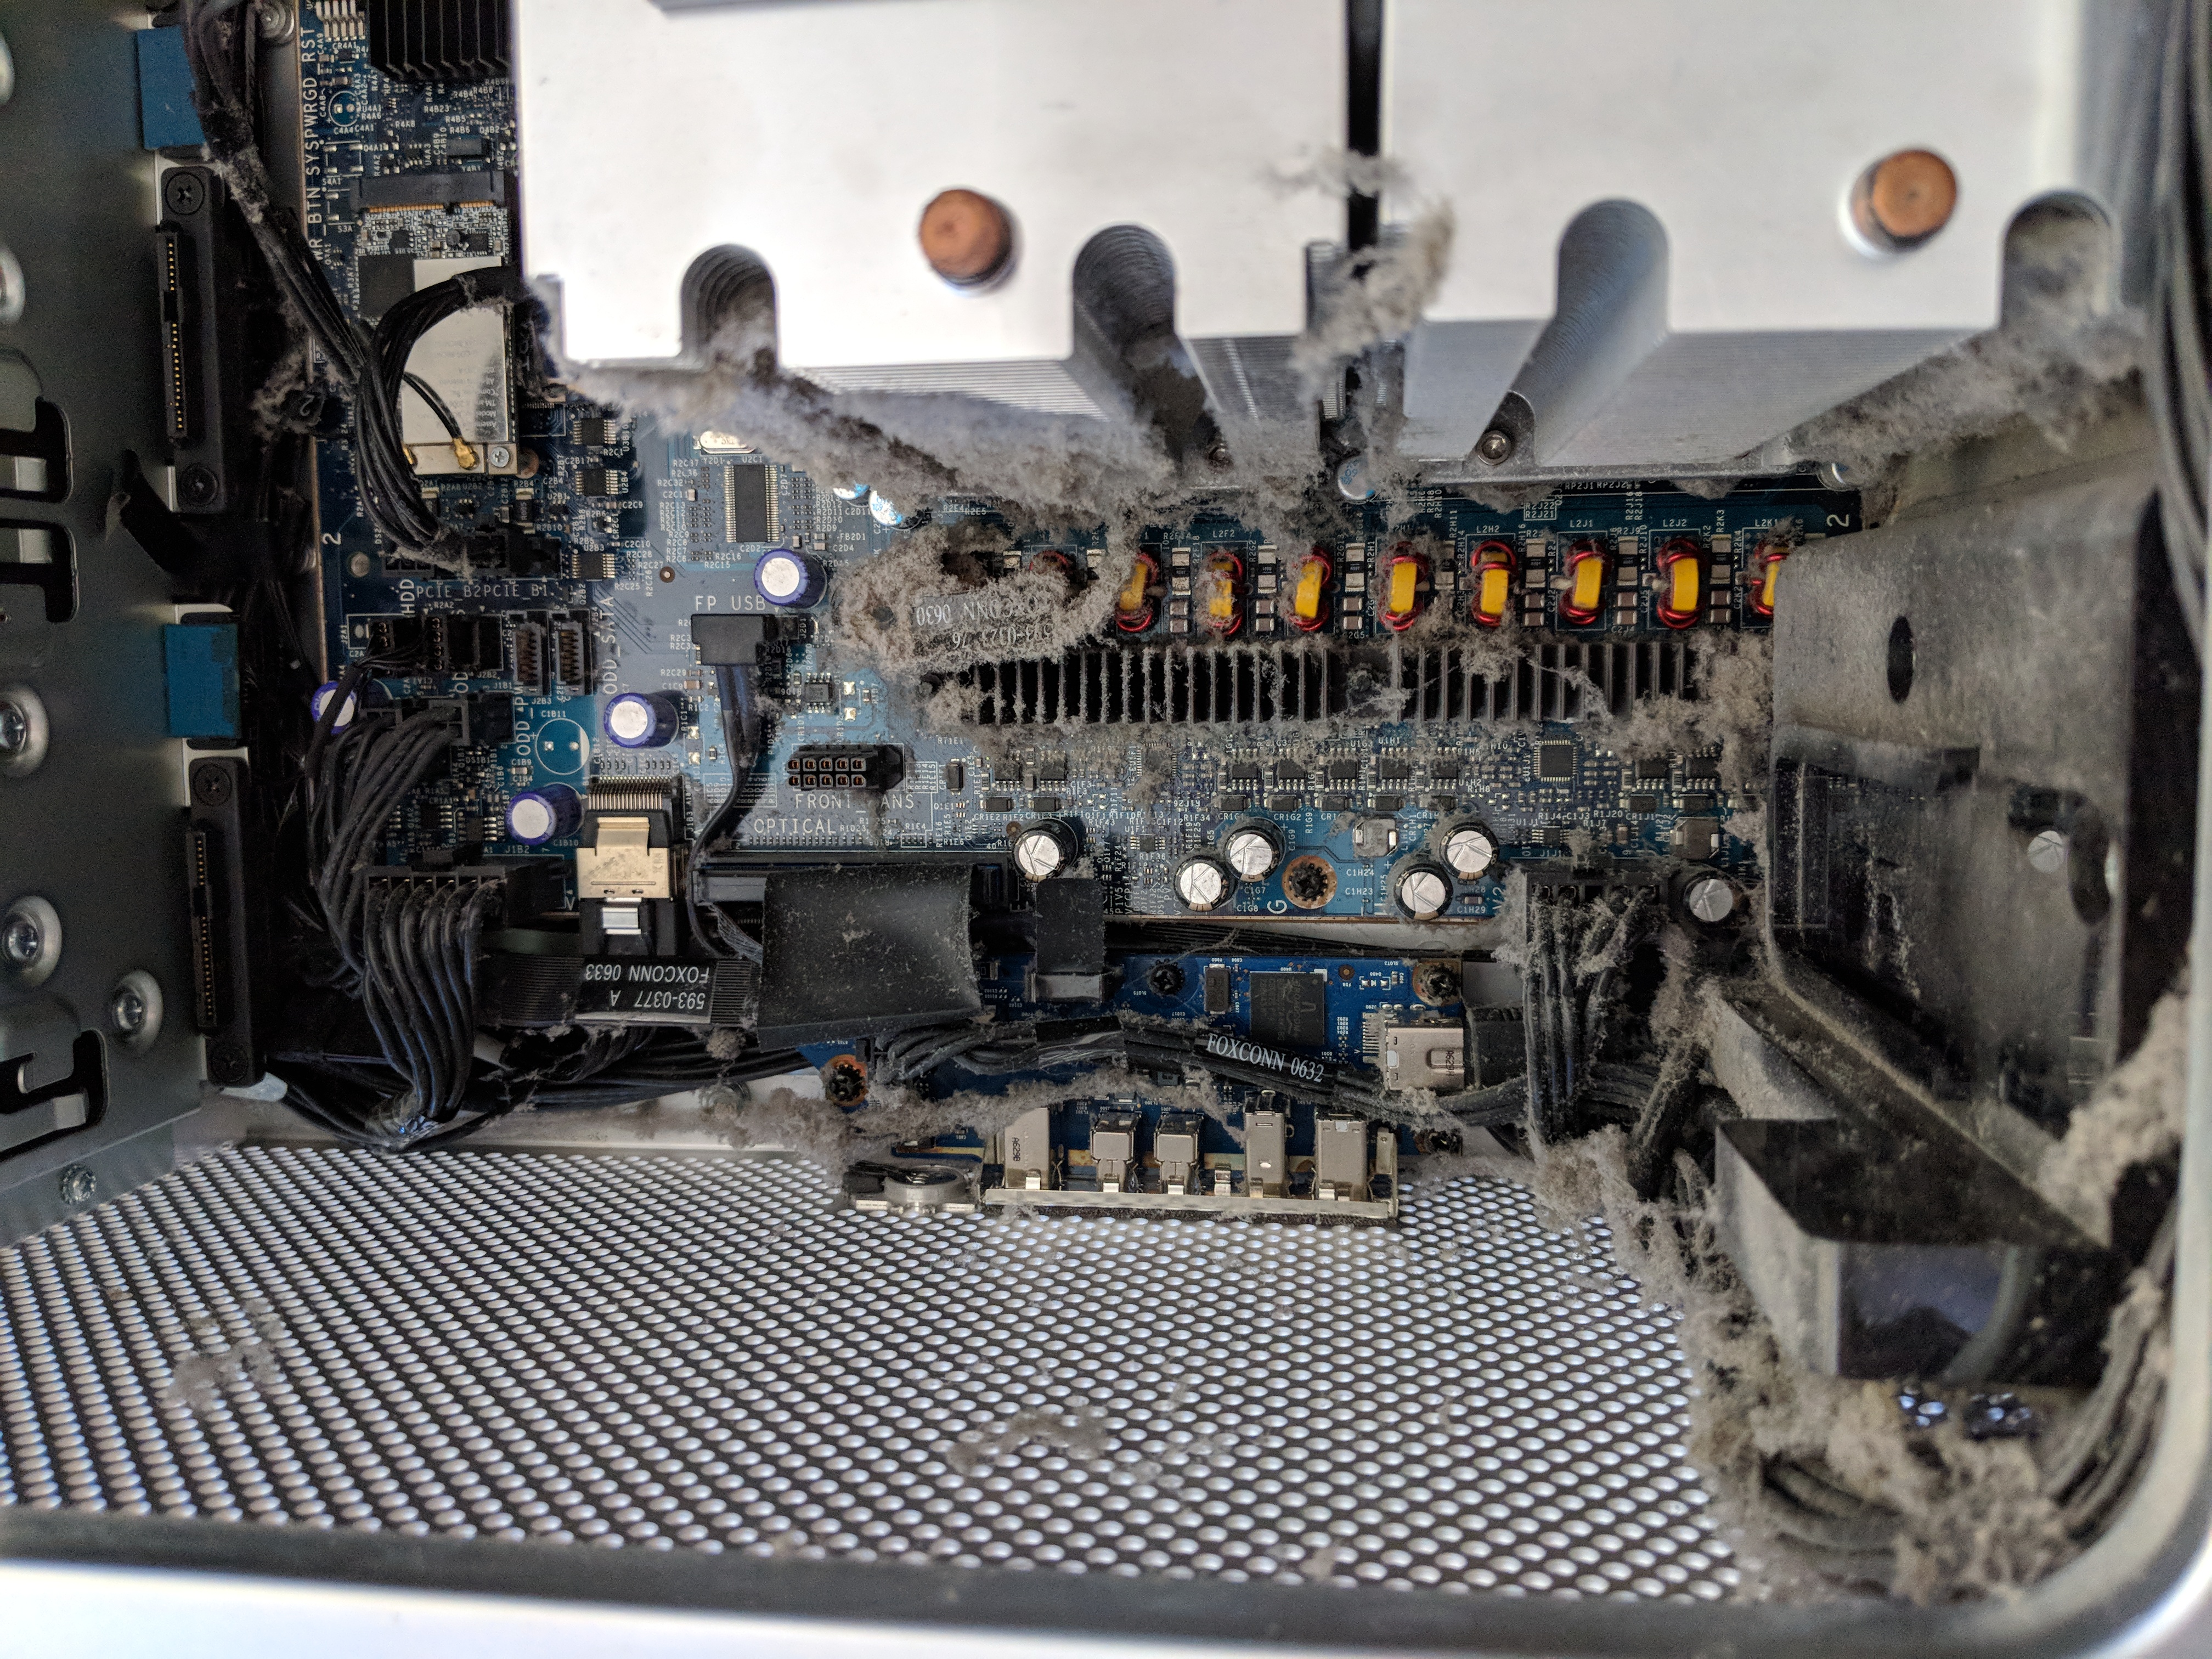
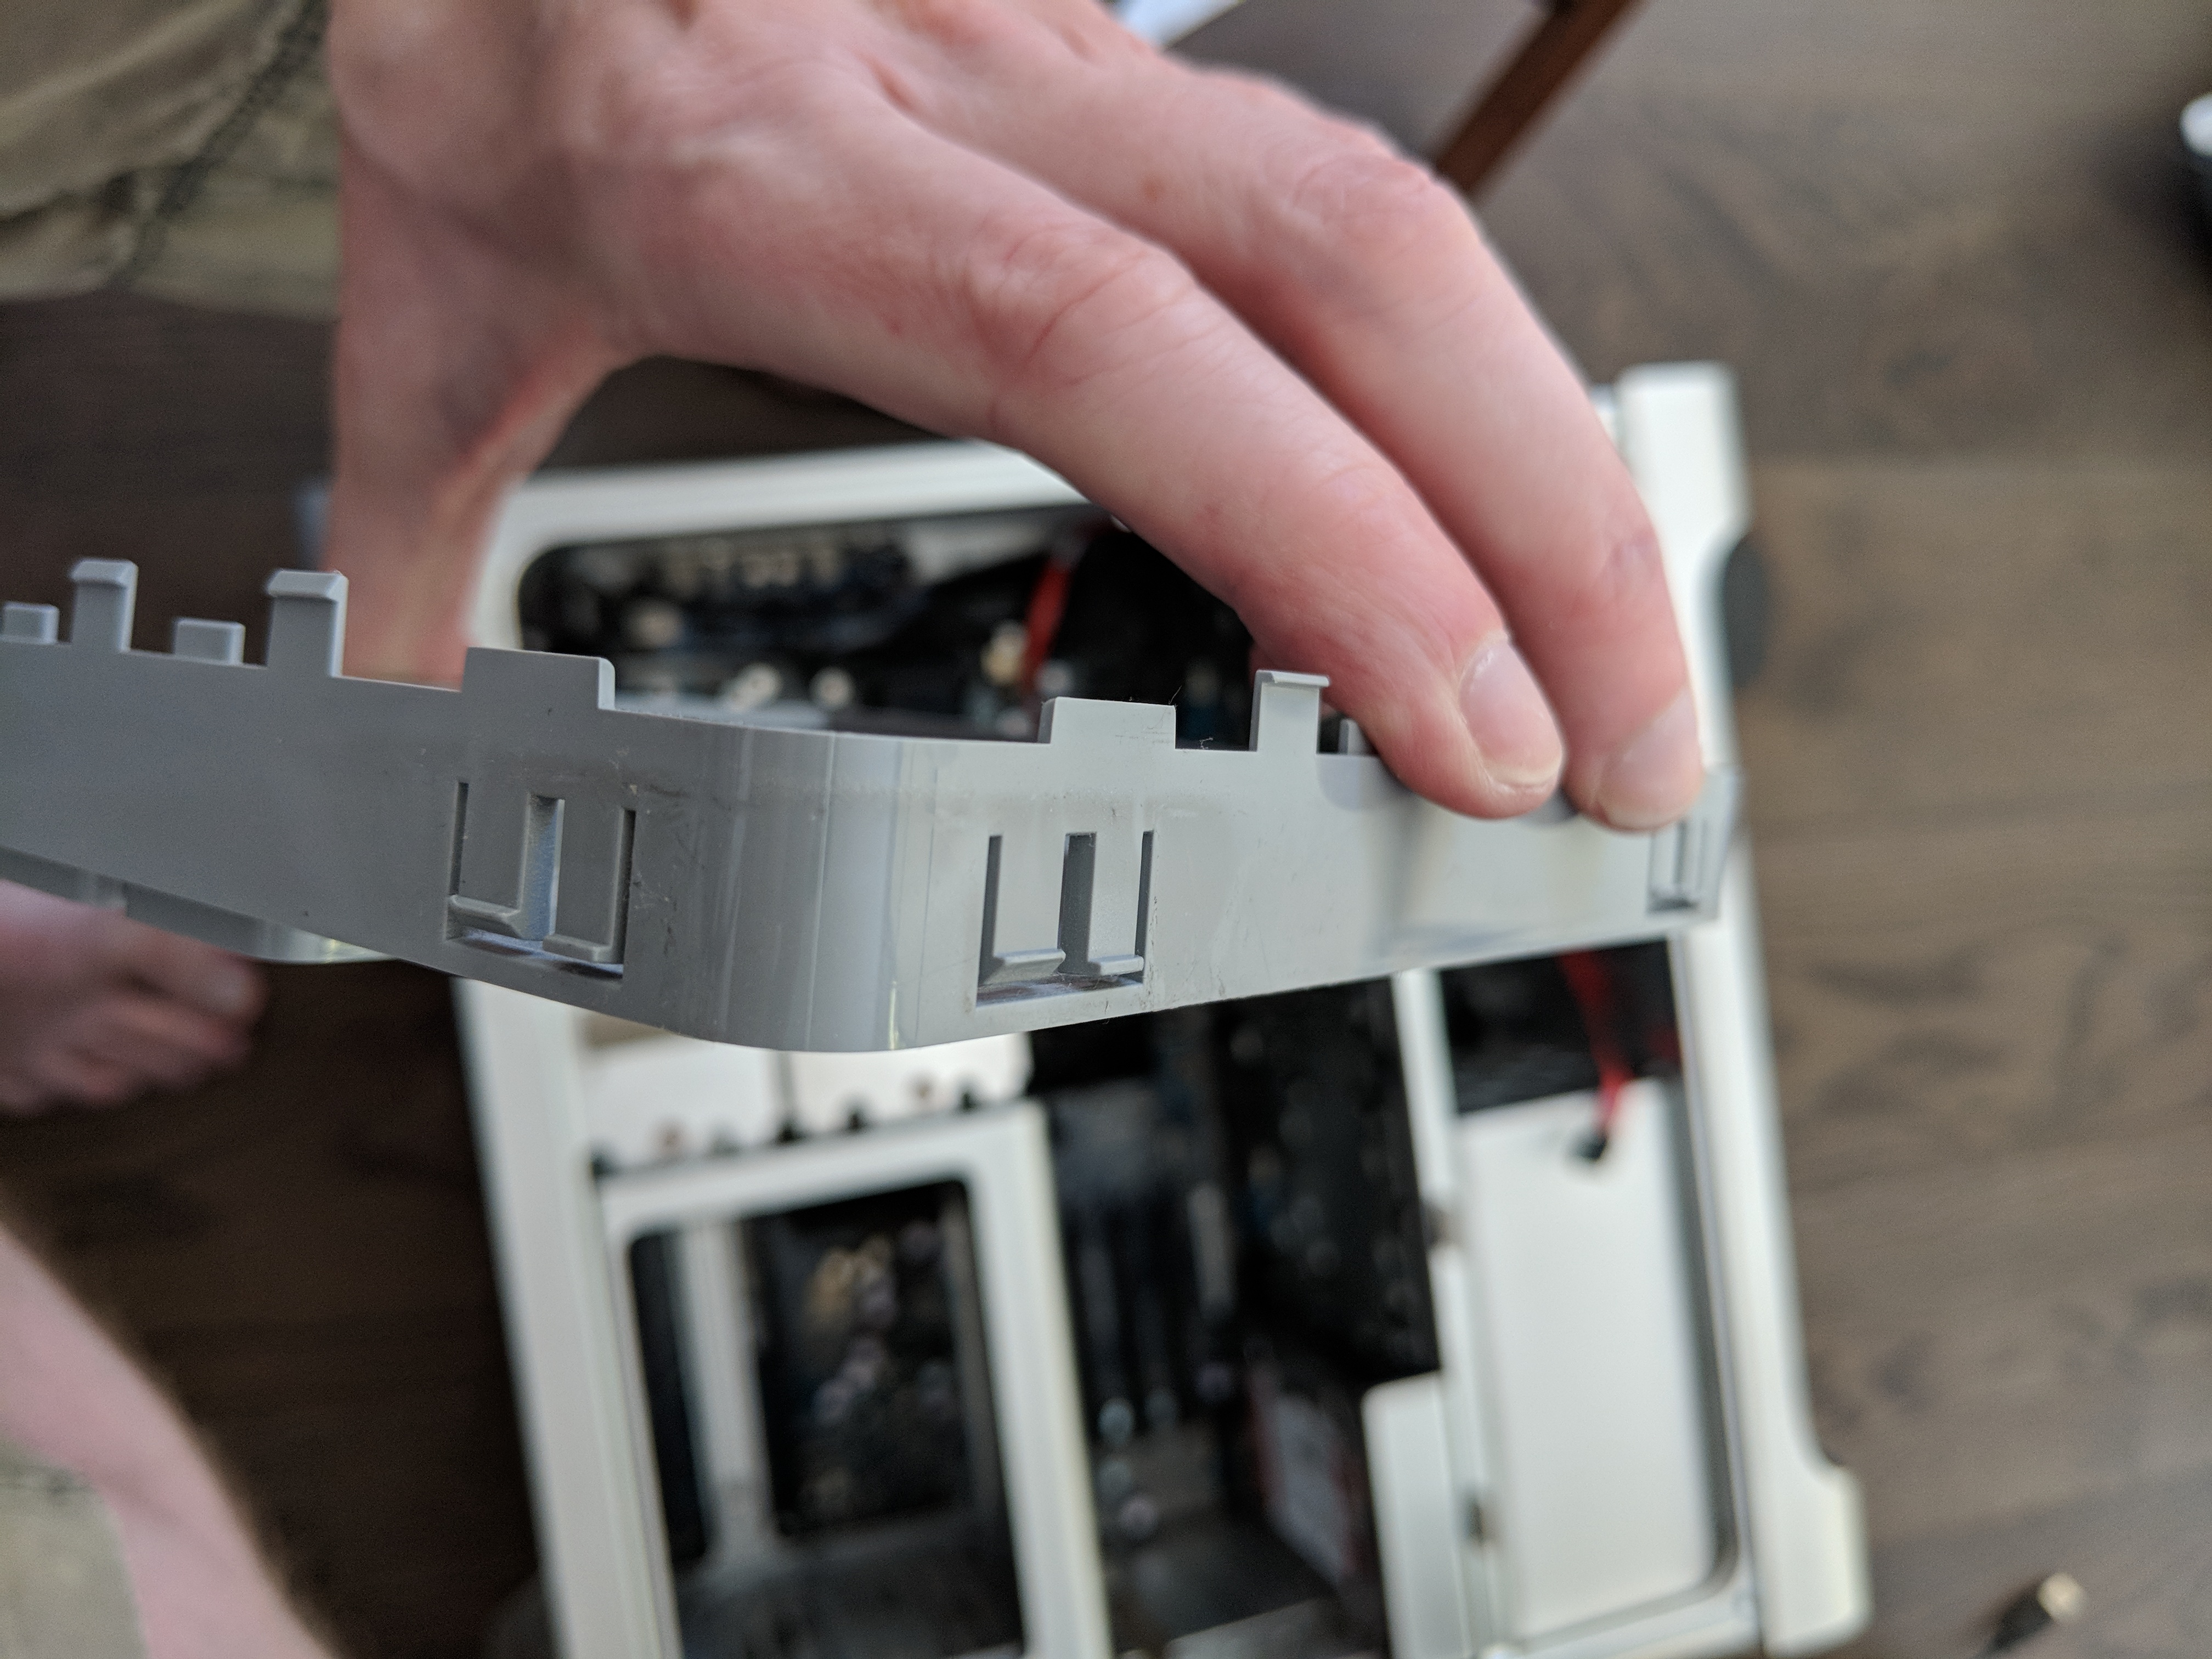
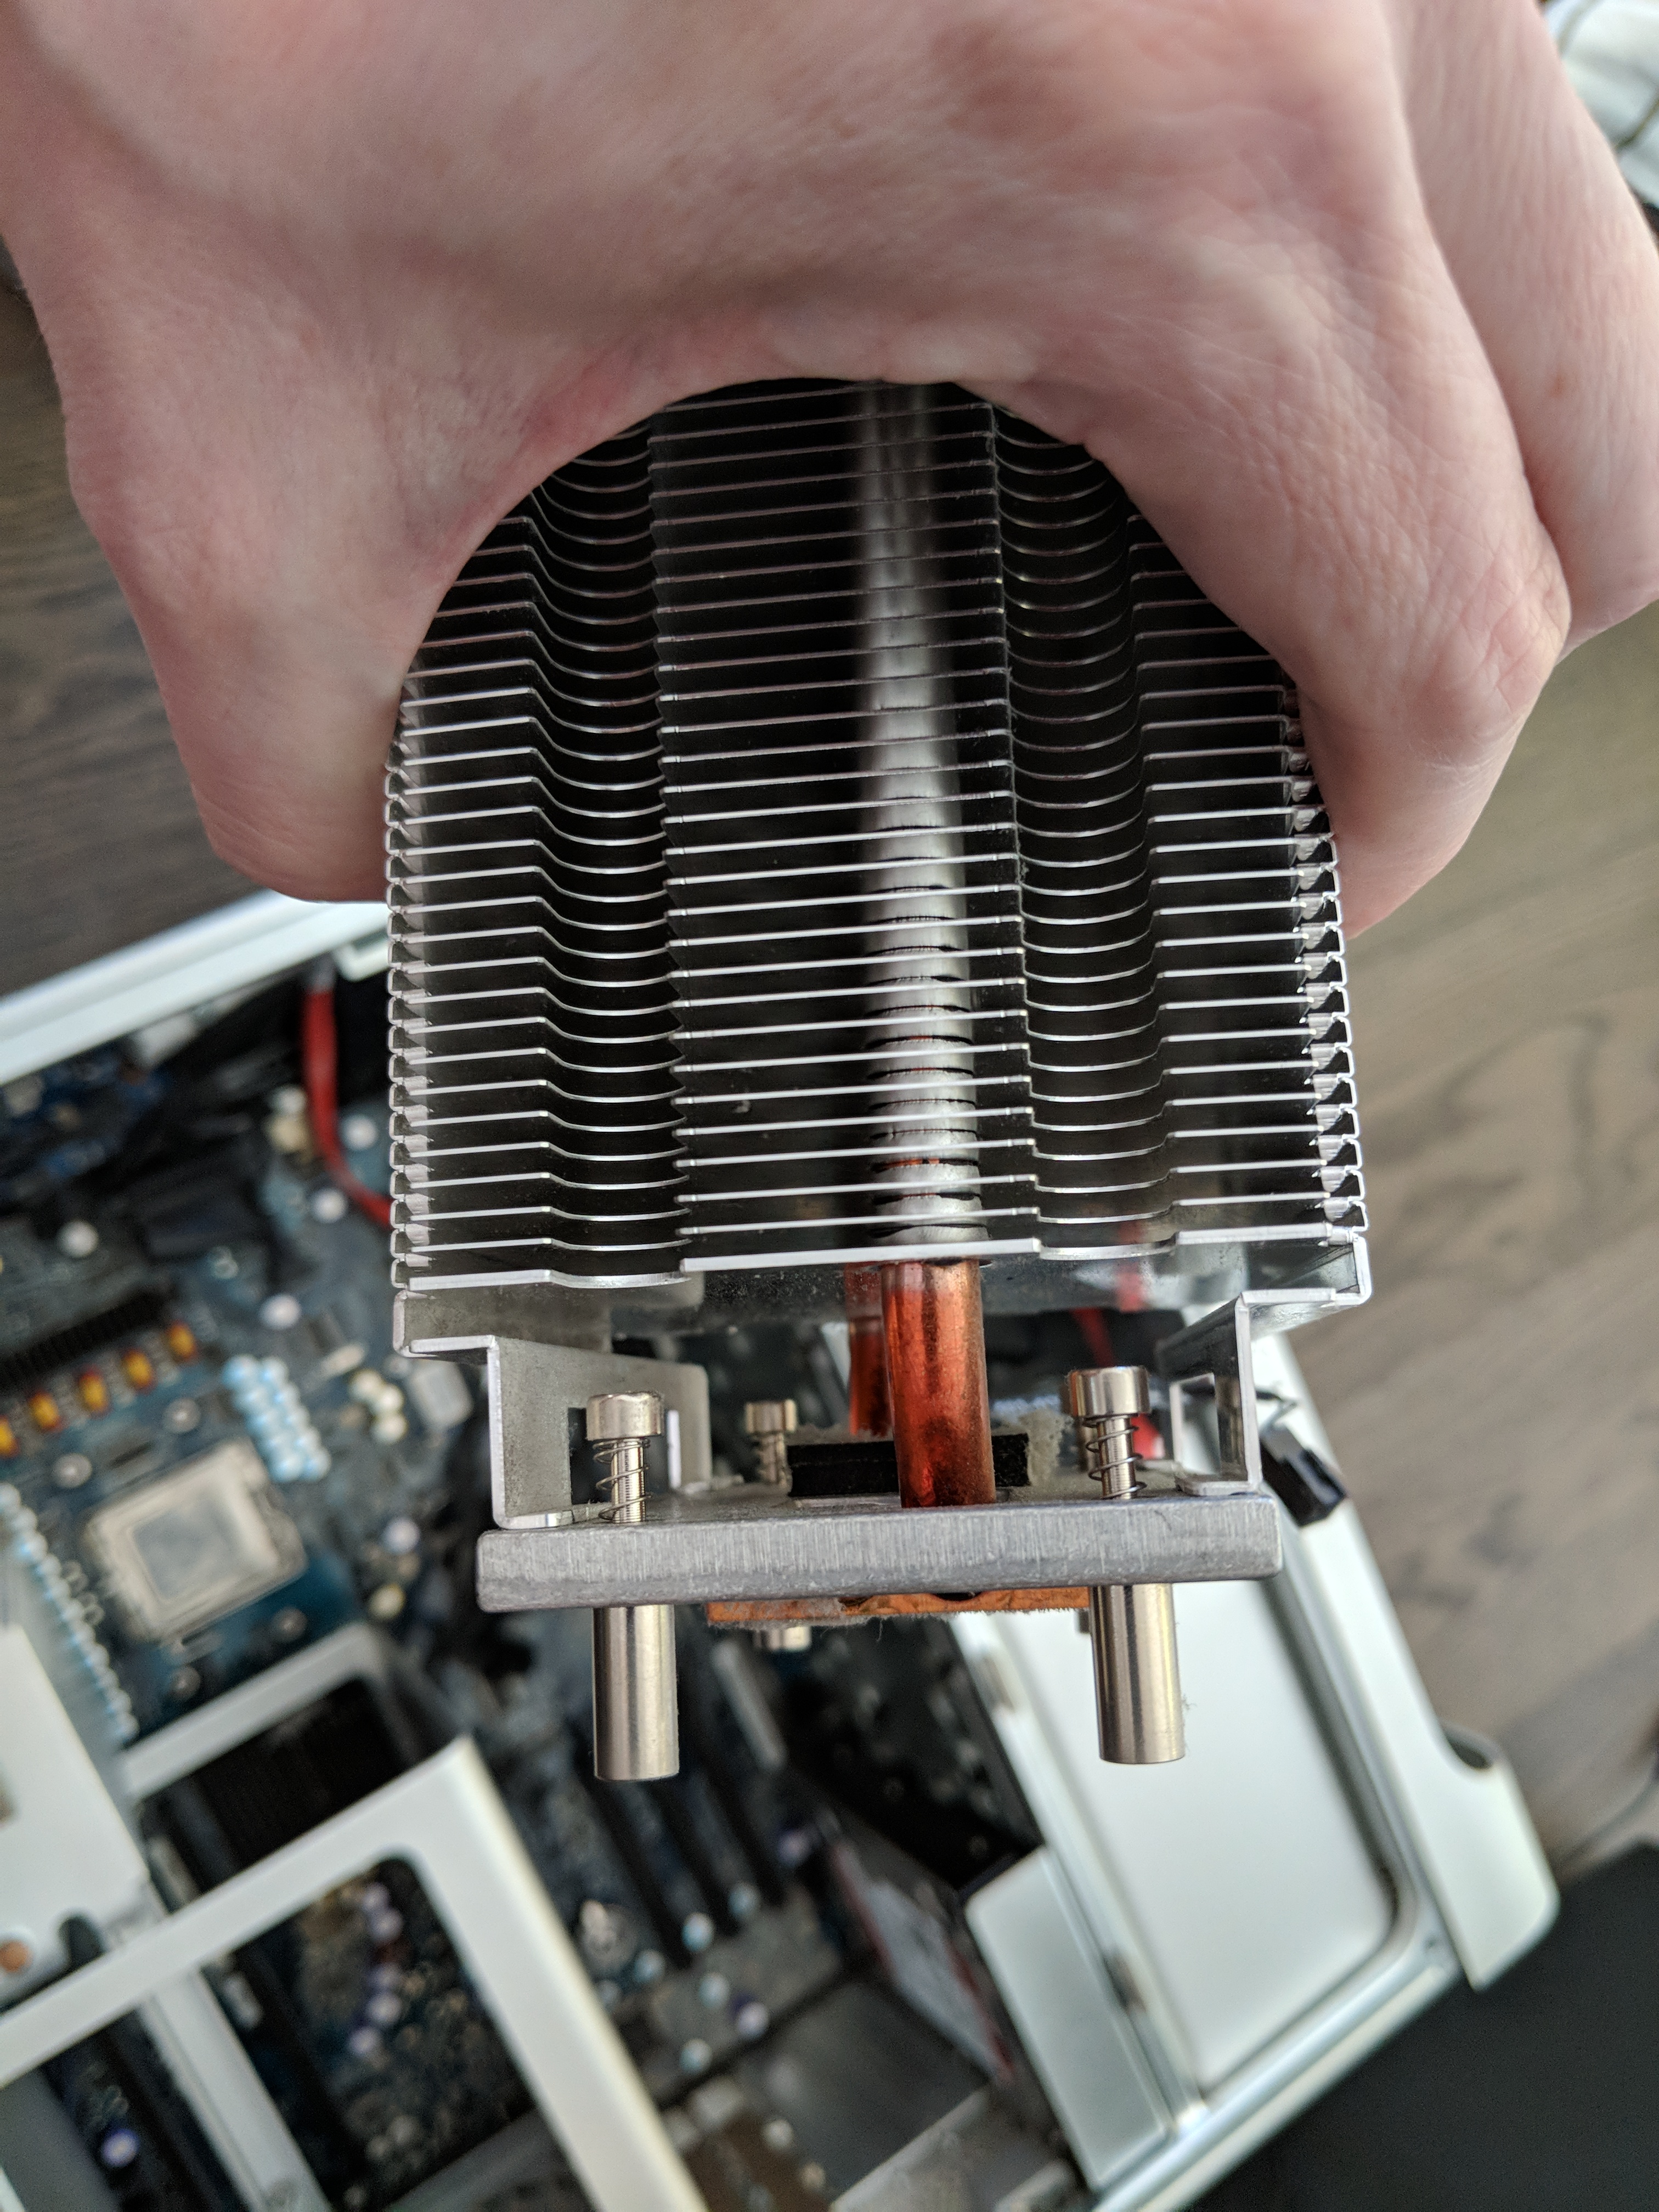
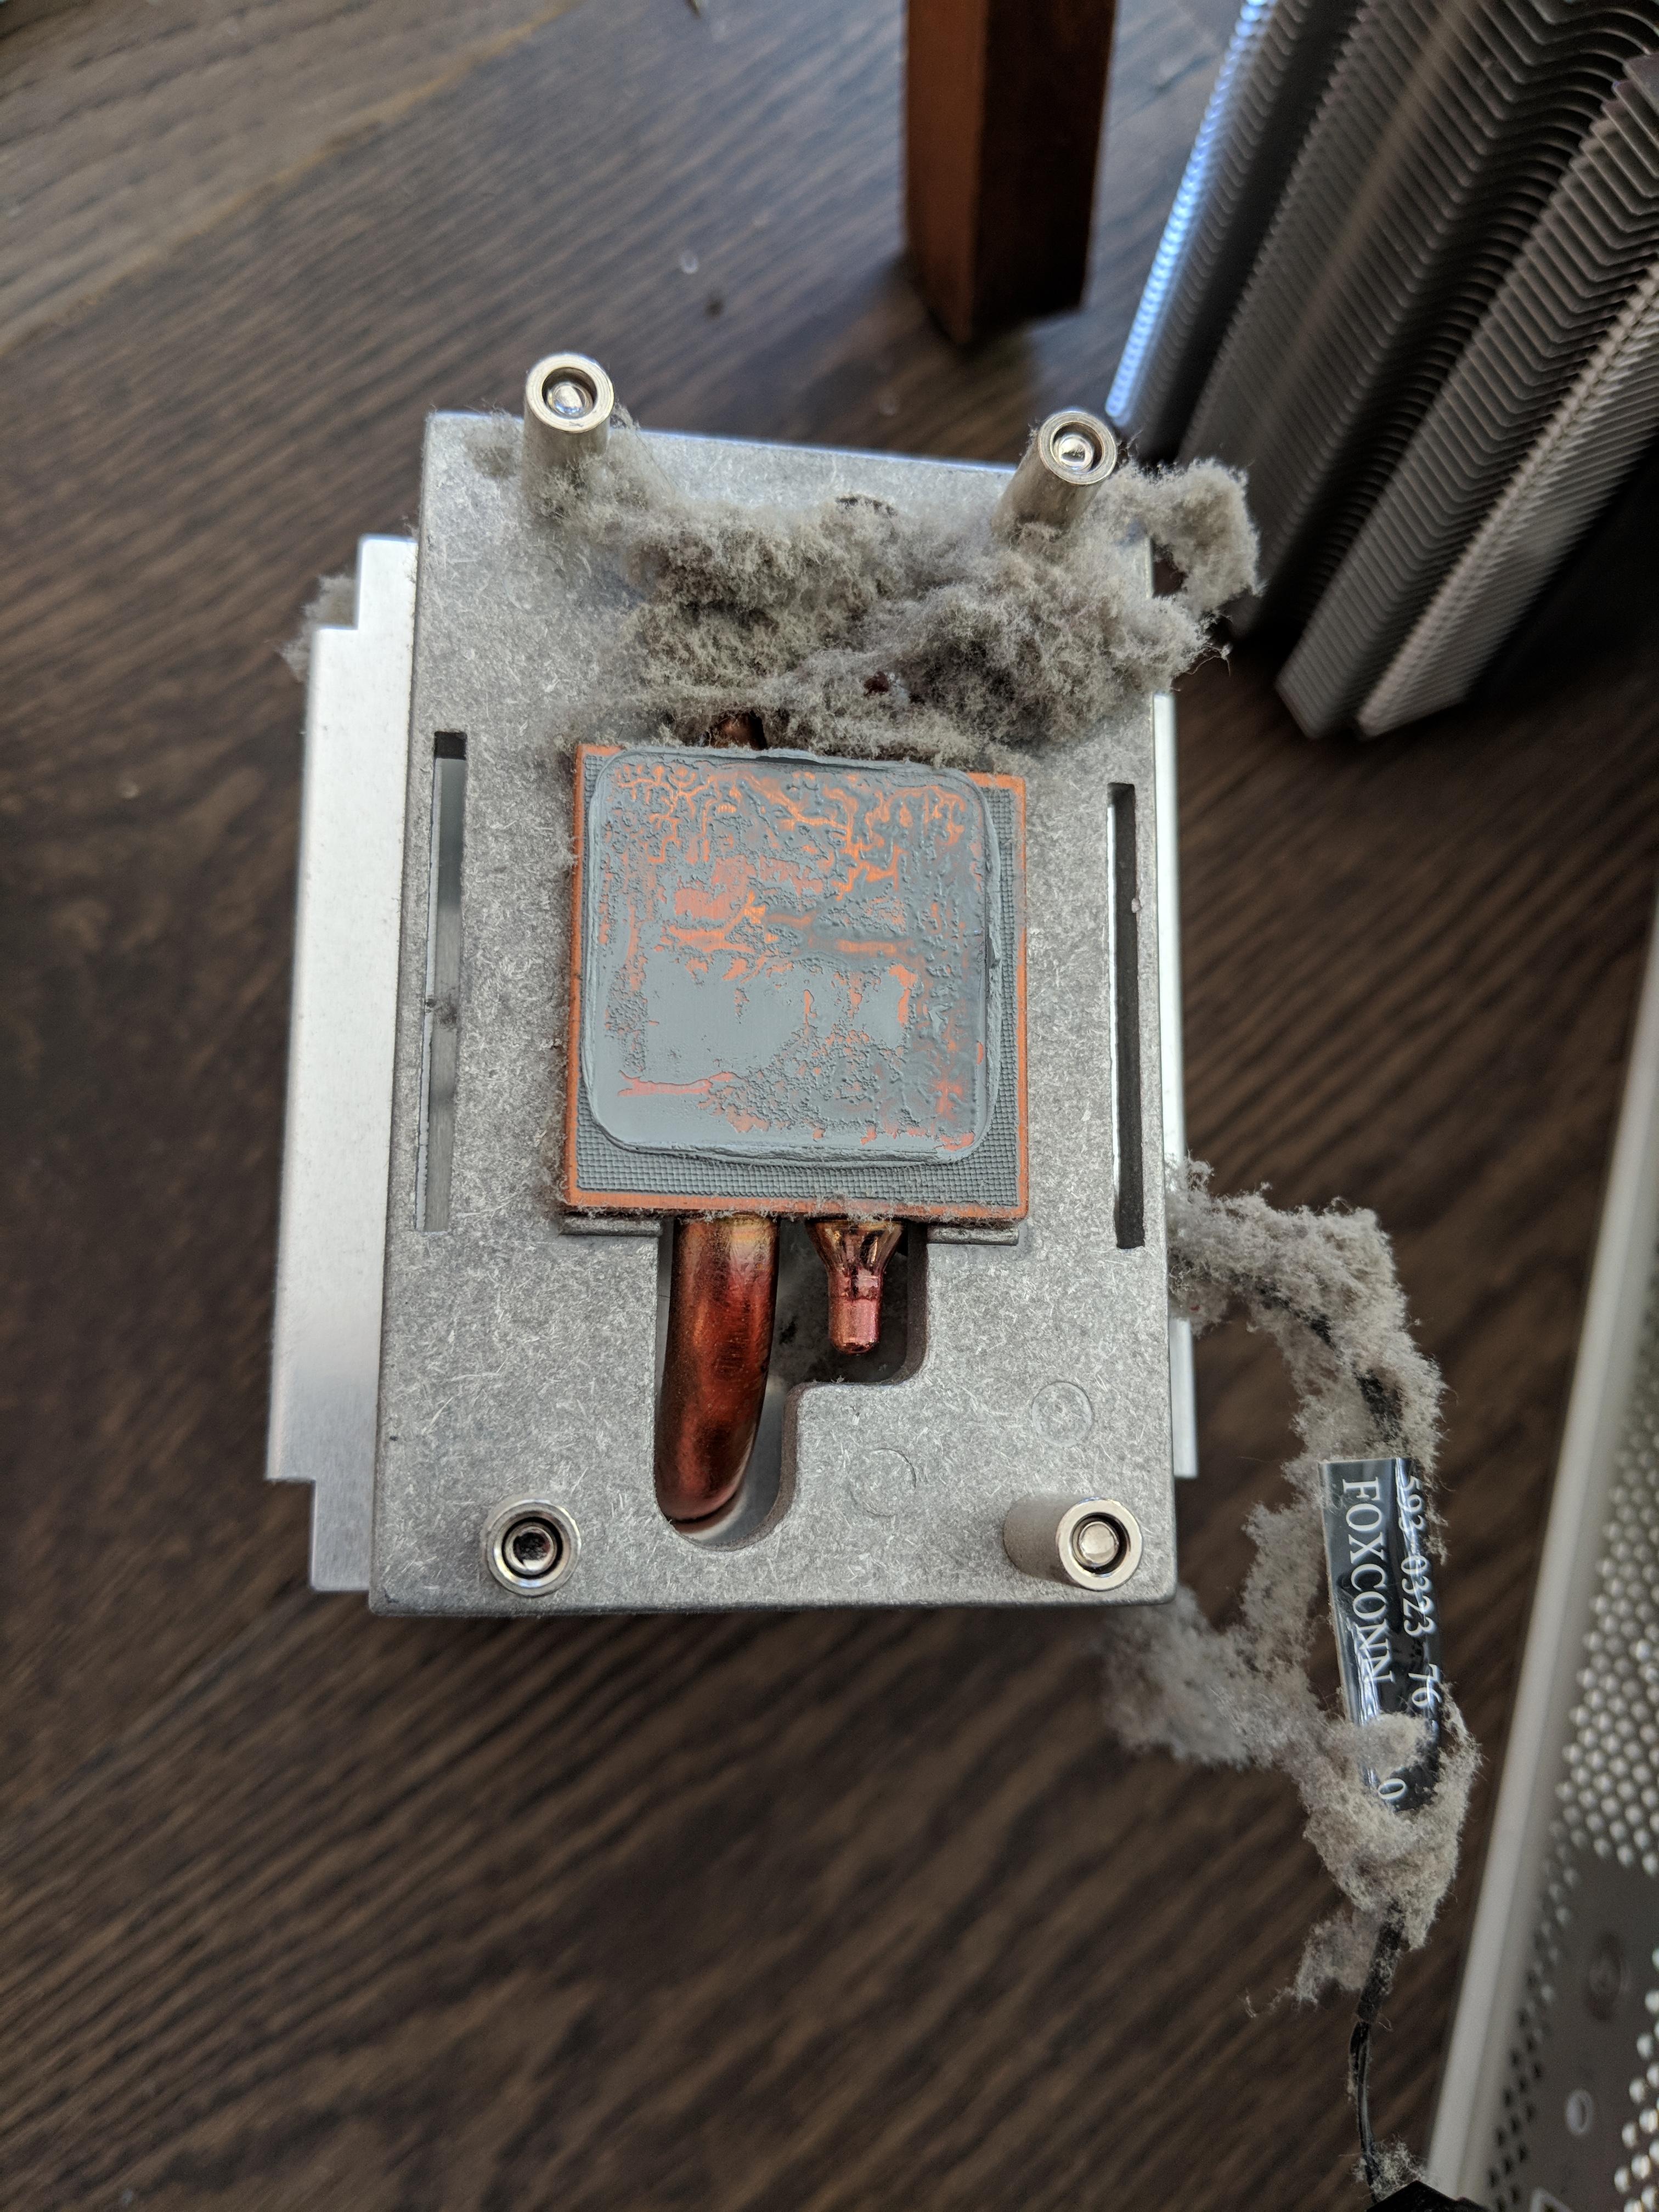
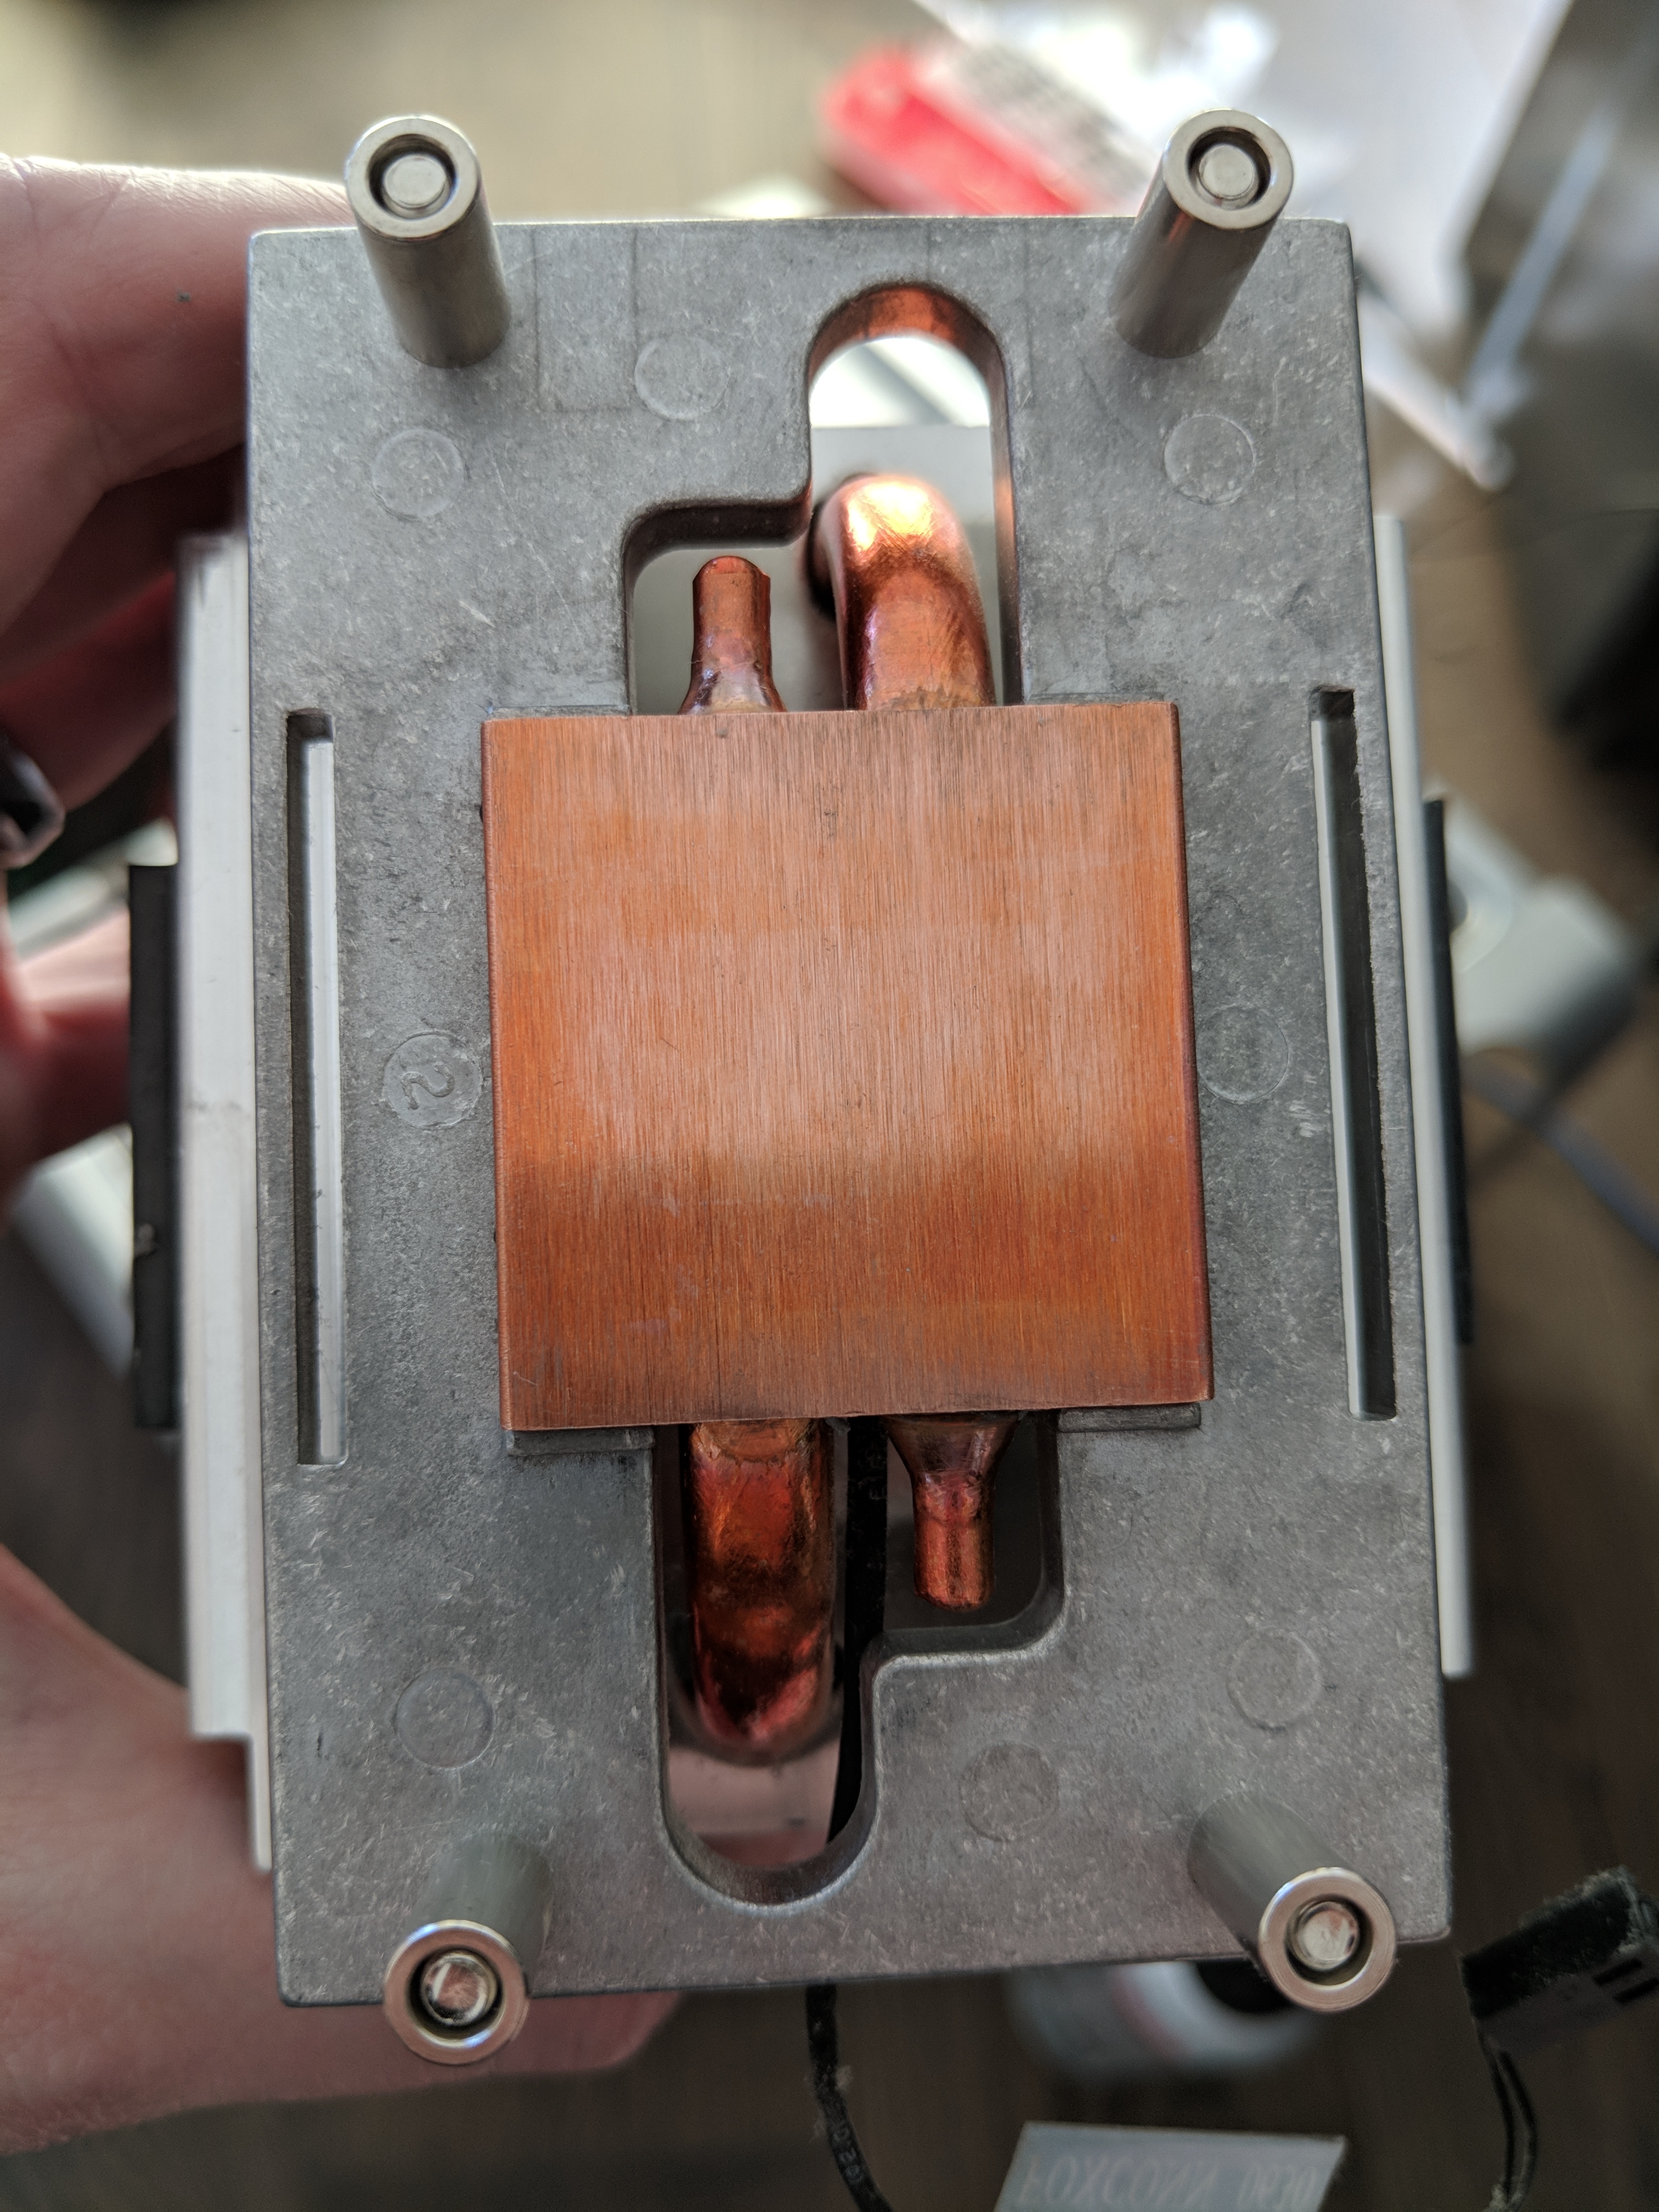
Changing the CPUs, on the other hand, was probably the most difficult part of the rebuild. This requires removing the memory bay as well as the CPU shroud. This isn’t as easy as it sounds because the memory bay has these extremely annoying little plastic clips which require you to depress all four of them simultaneously and work them out. Getting the CPU heatsinks off also turned into a bit of a chore. They use hex screws to hold them on, and unfortunately one of the 8 screws that hold the two heatsinks in place is extremely awkward to get at and requires a really long screwdriver. I ended up going over to Fry’s Electronics to buy a new screwdriver to get the last screw out, but unfortunately it didn’t fit either. In the end, it turned out that I had a really long Torx screwdriver lying around, and apparently you can use Torx bits with hex bolts, which I hadn’t realized before.
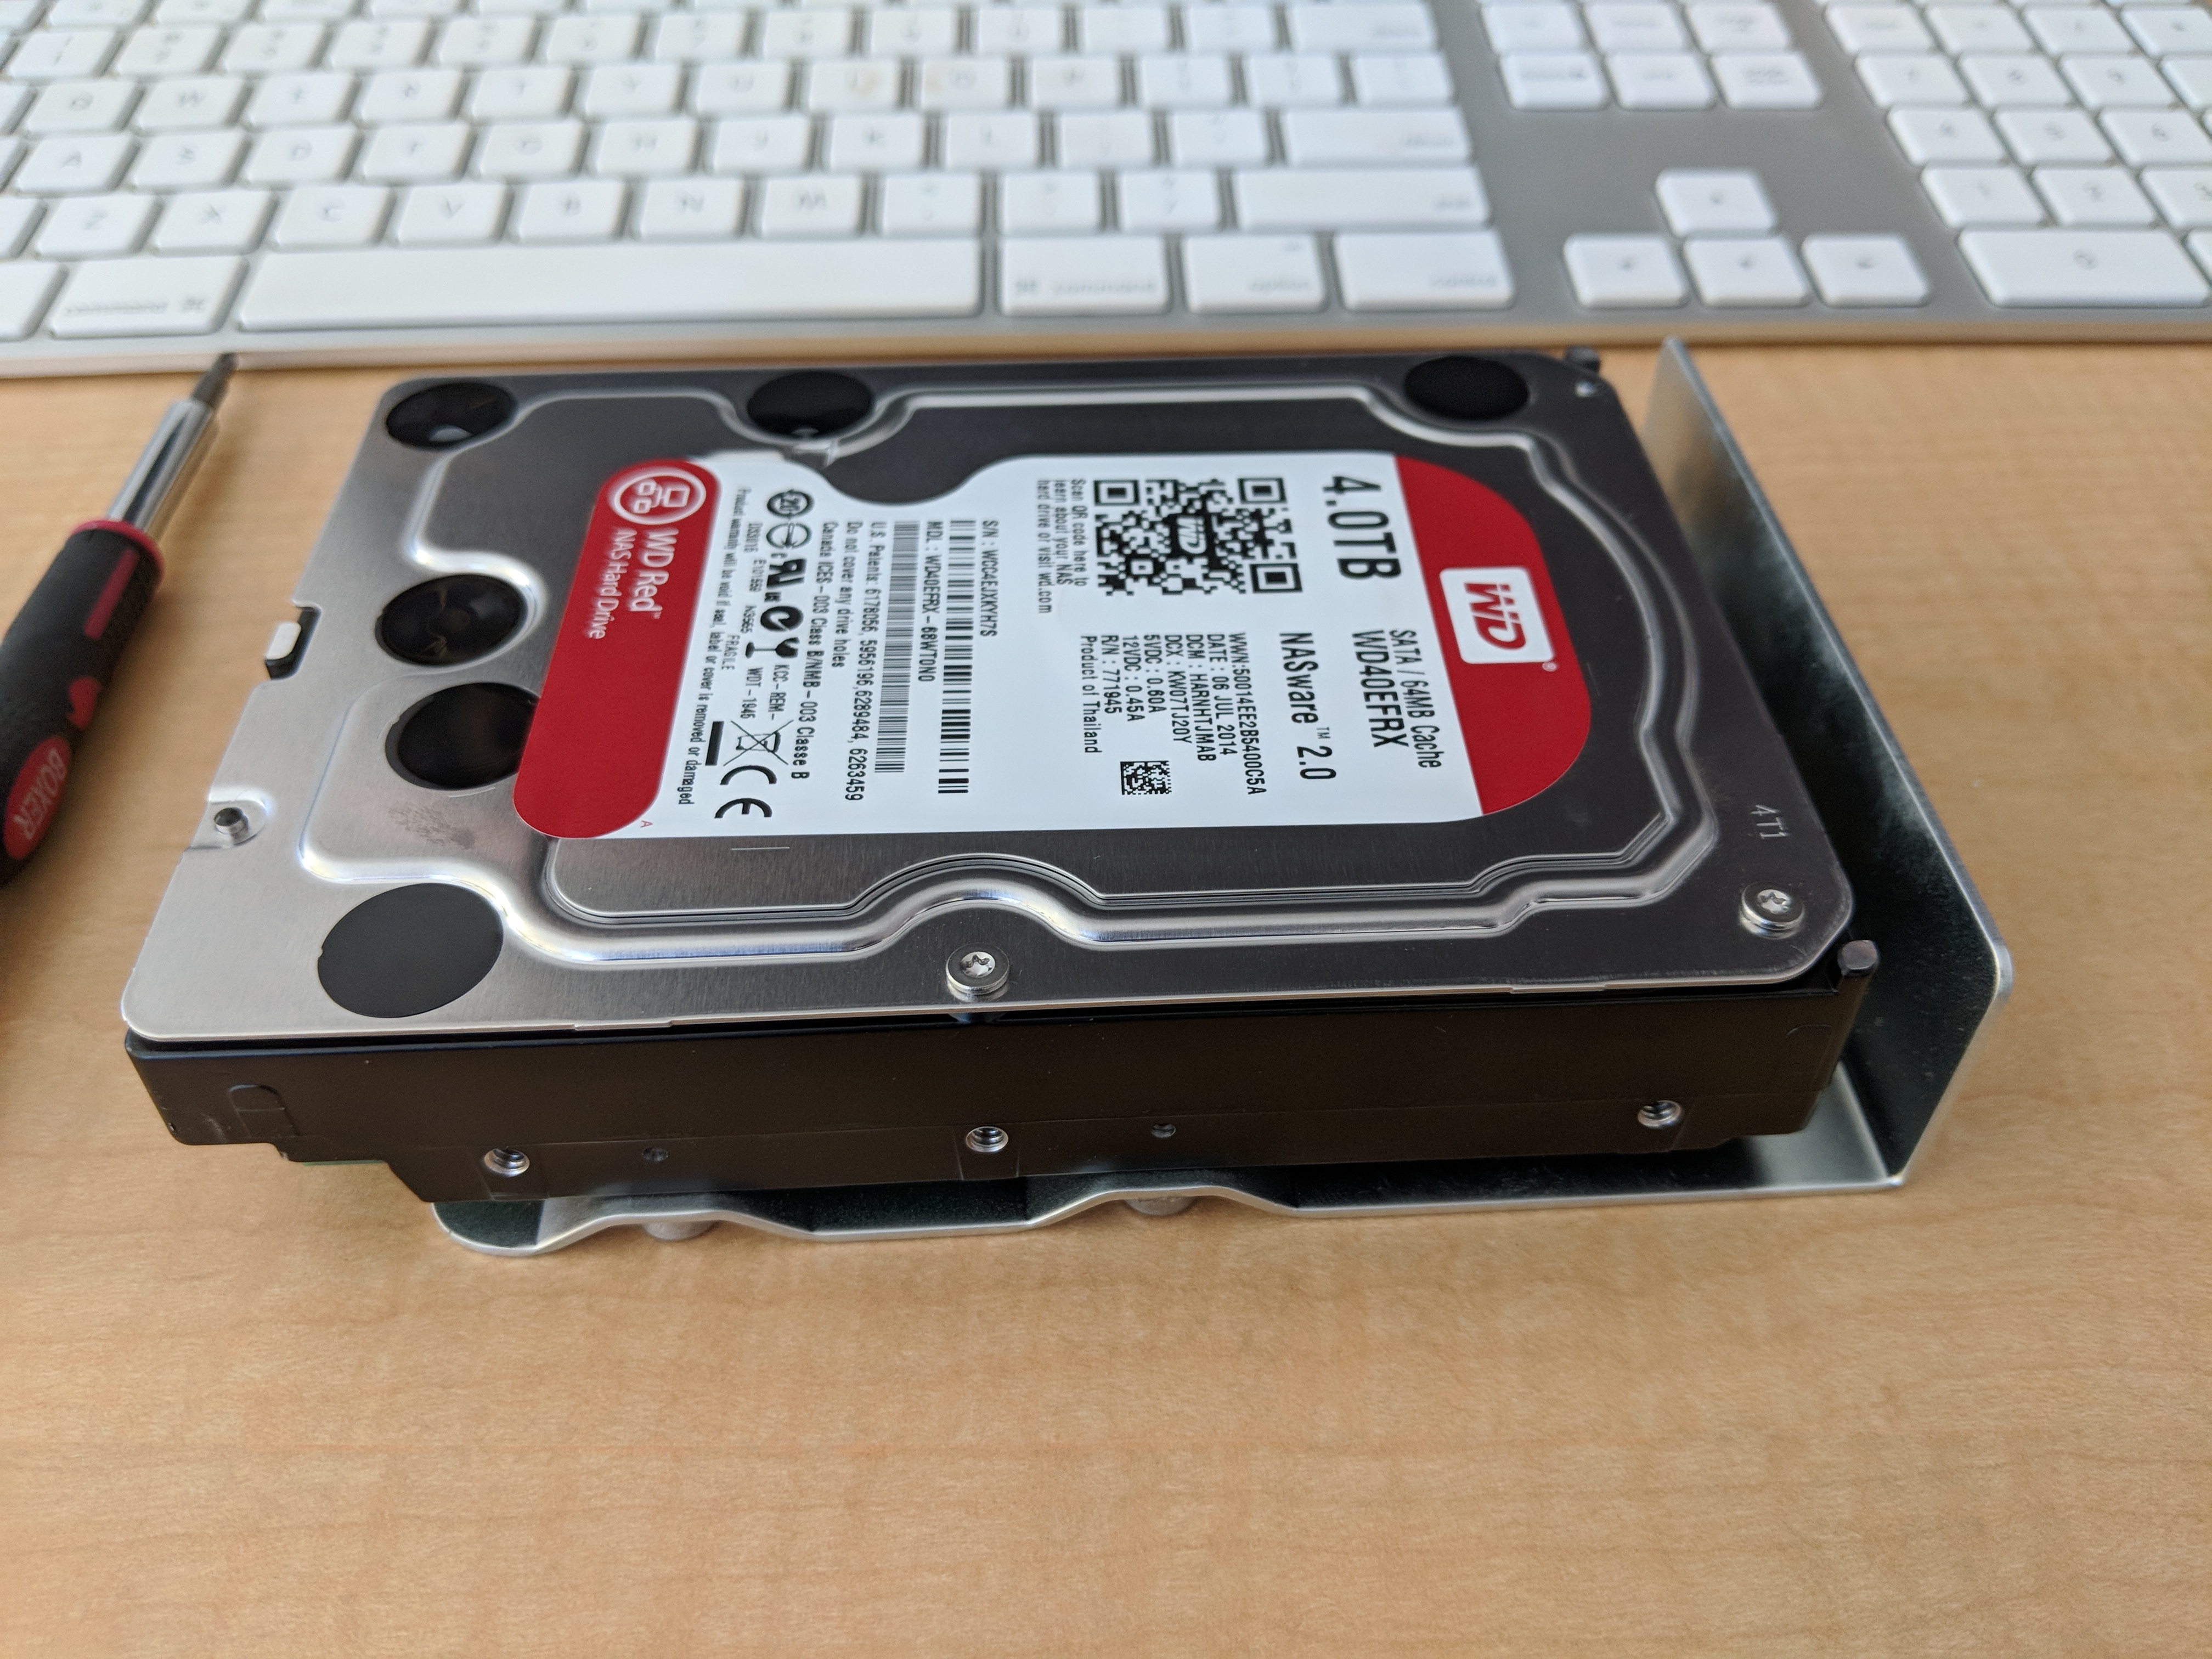
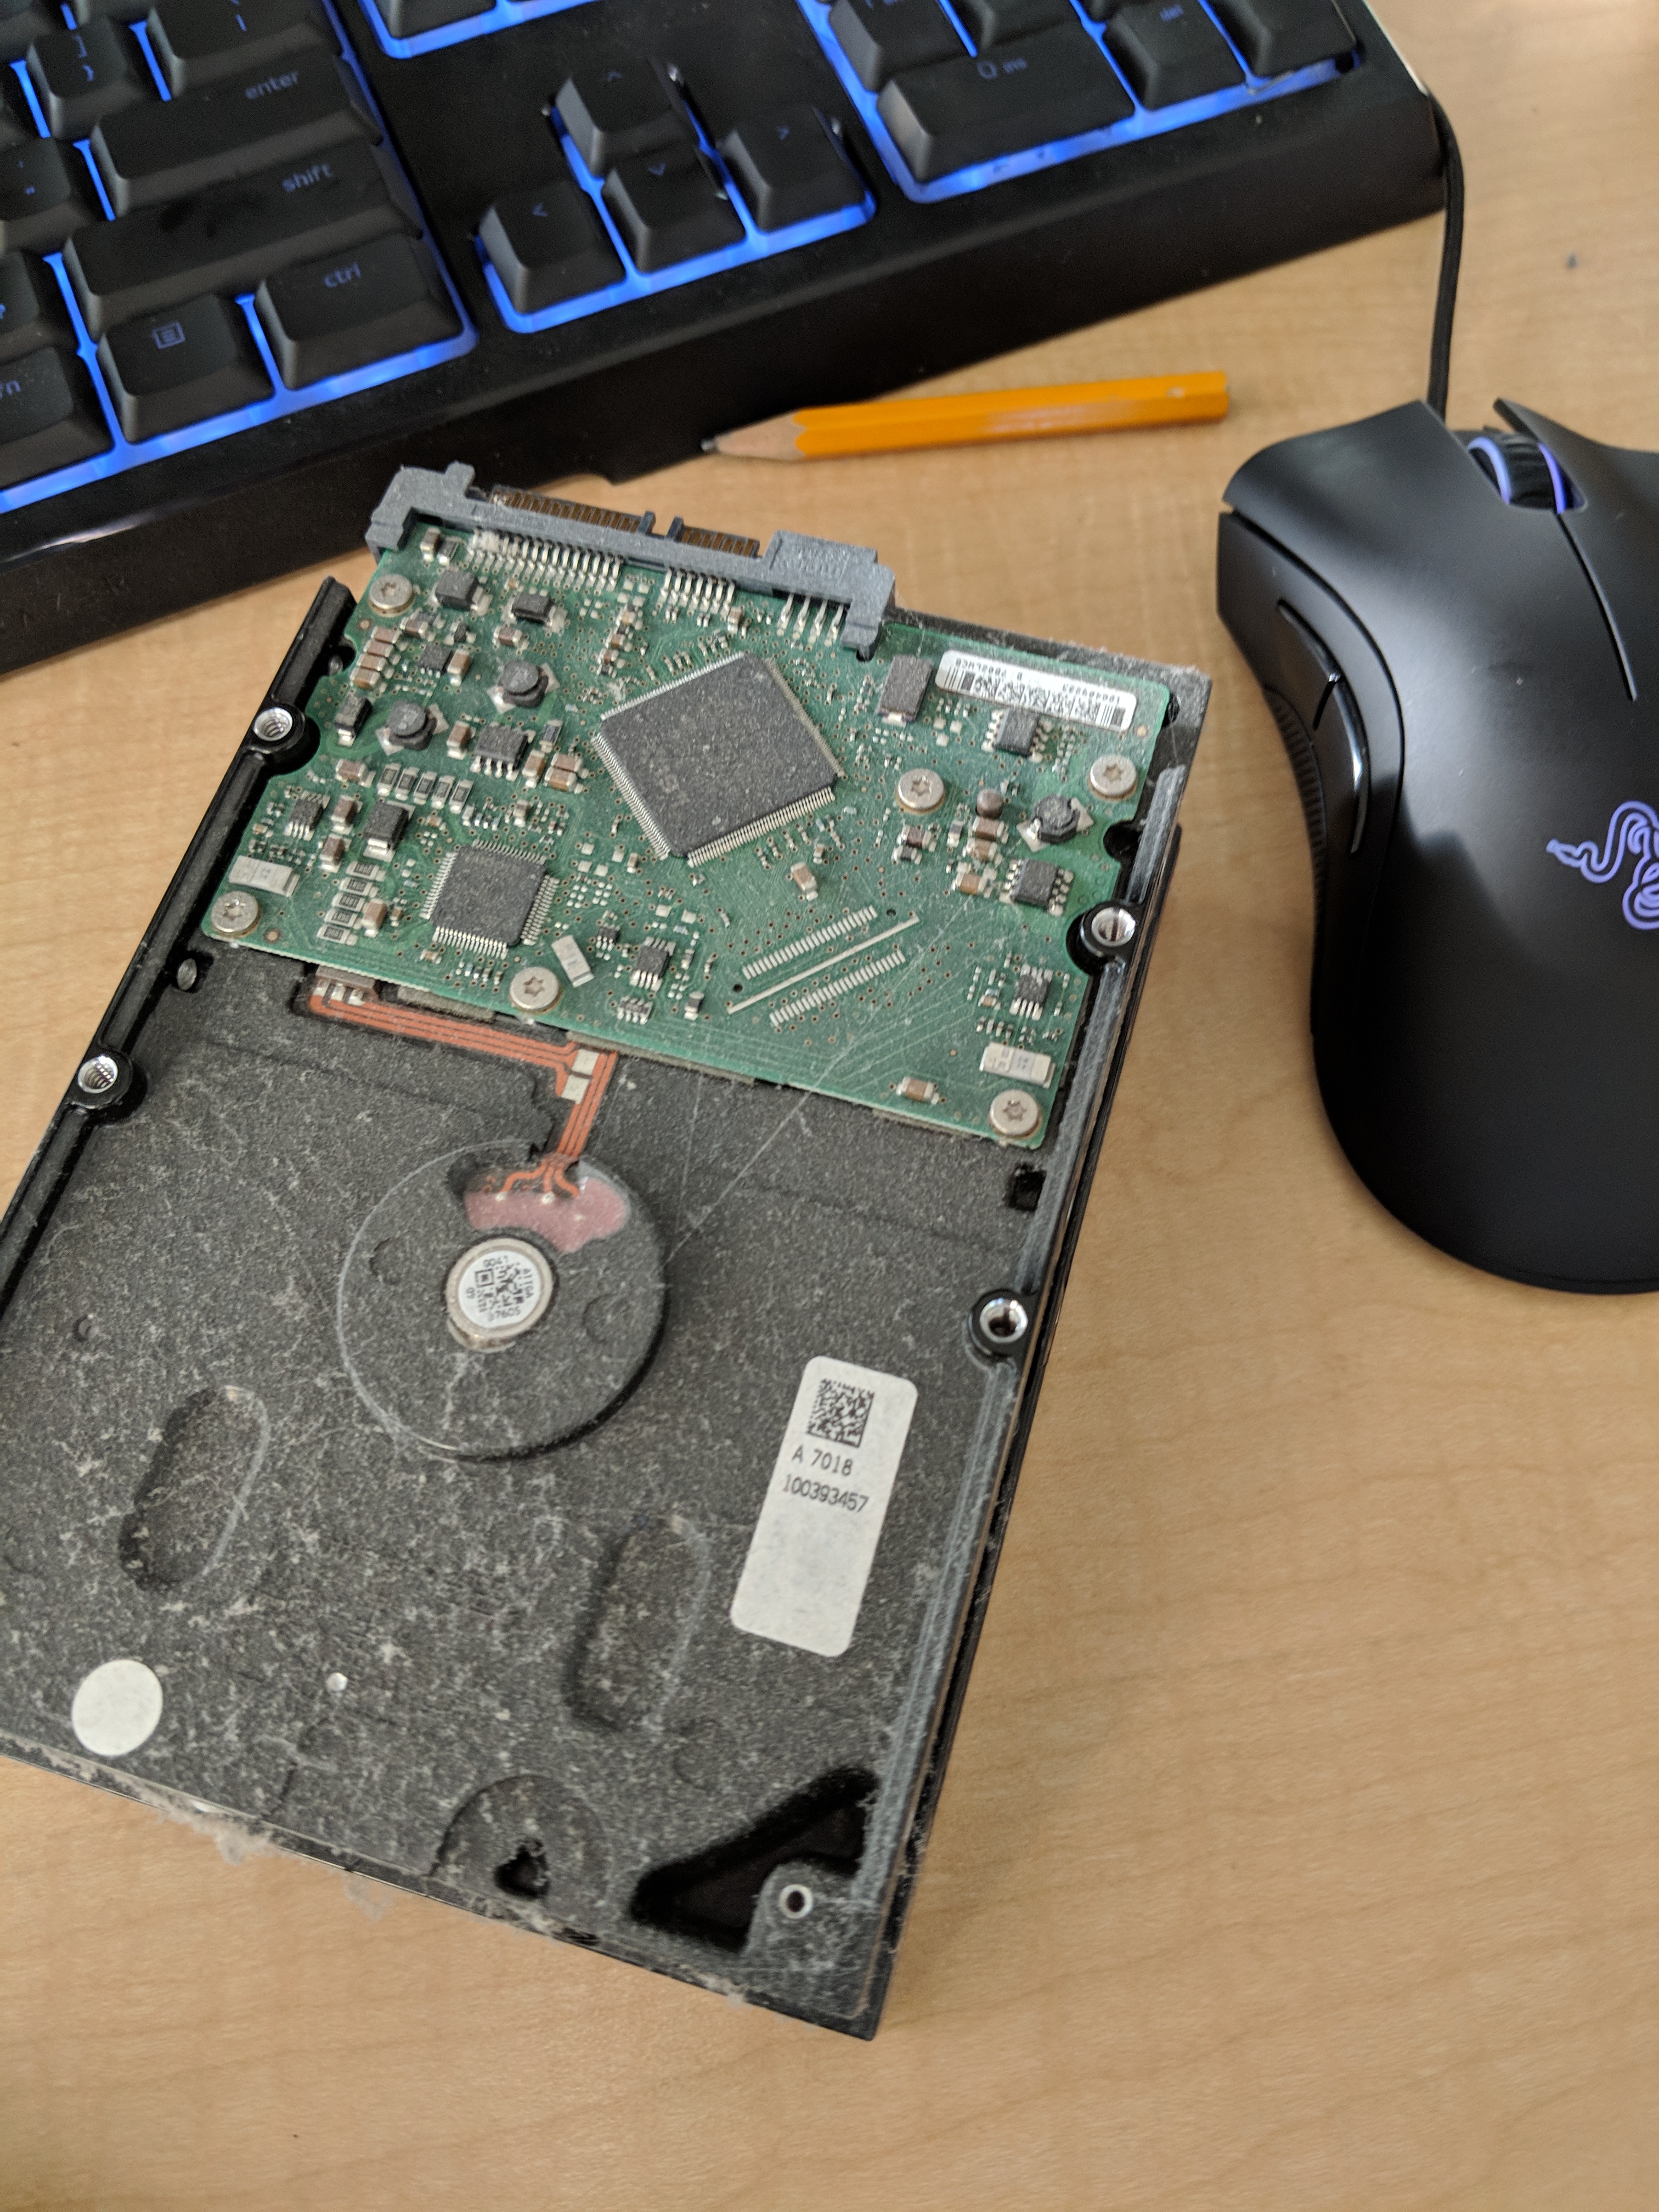
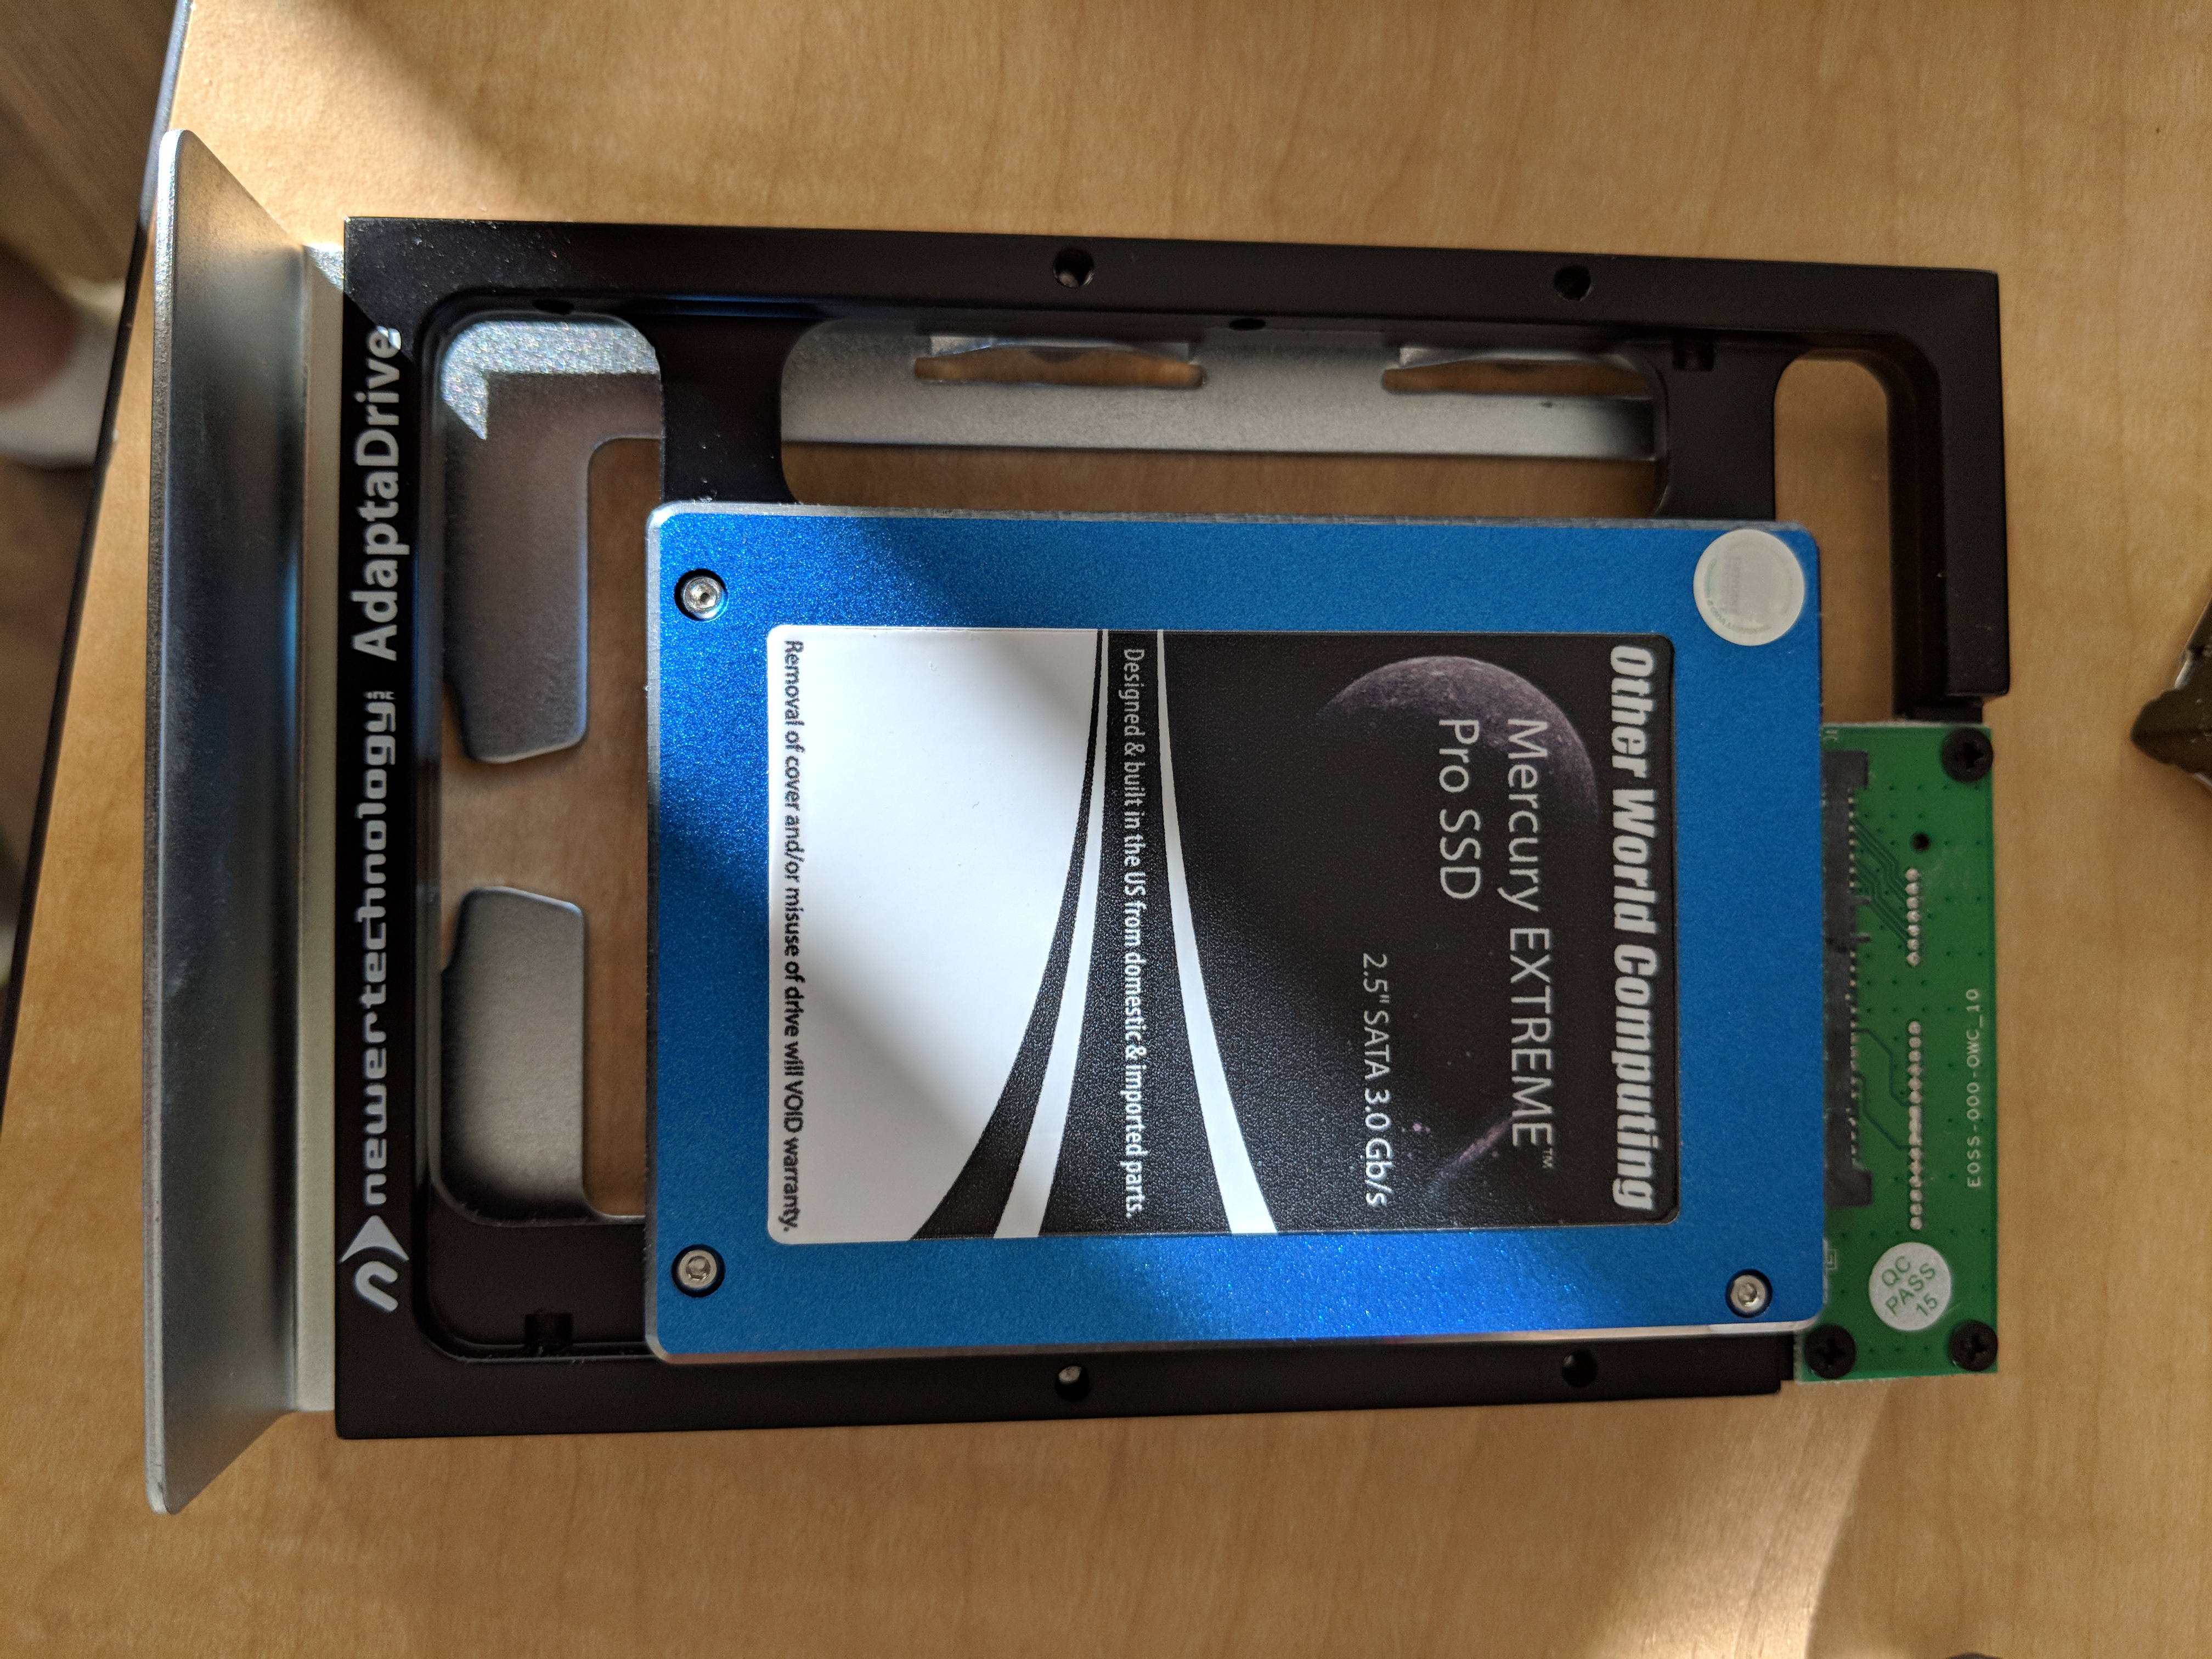
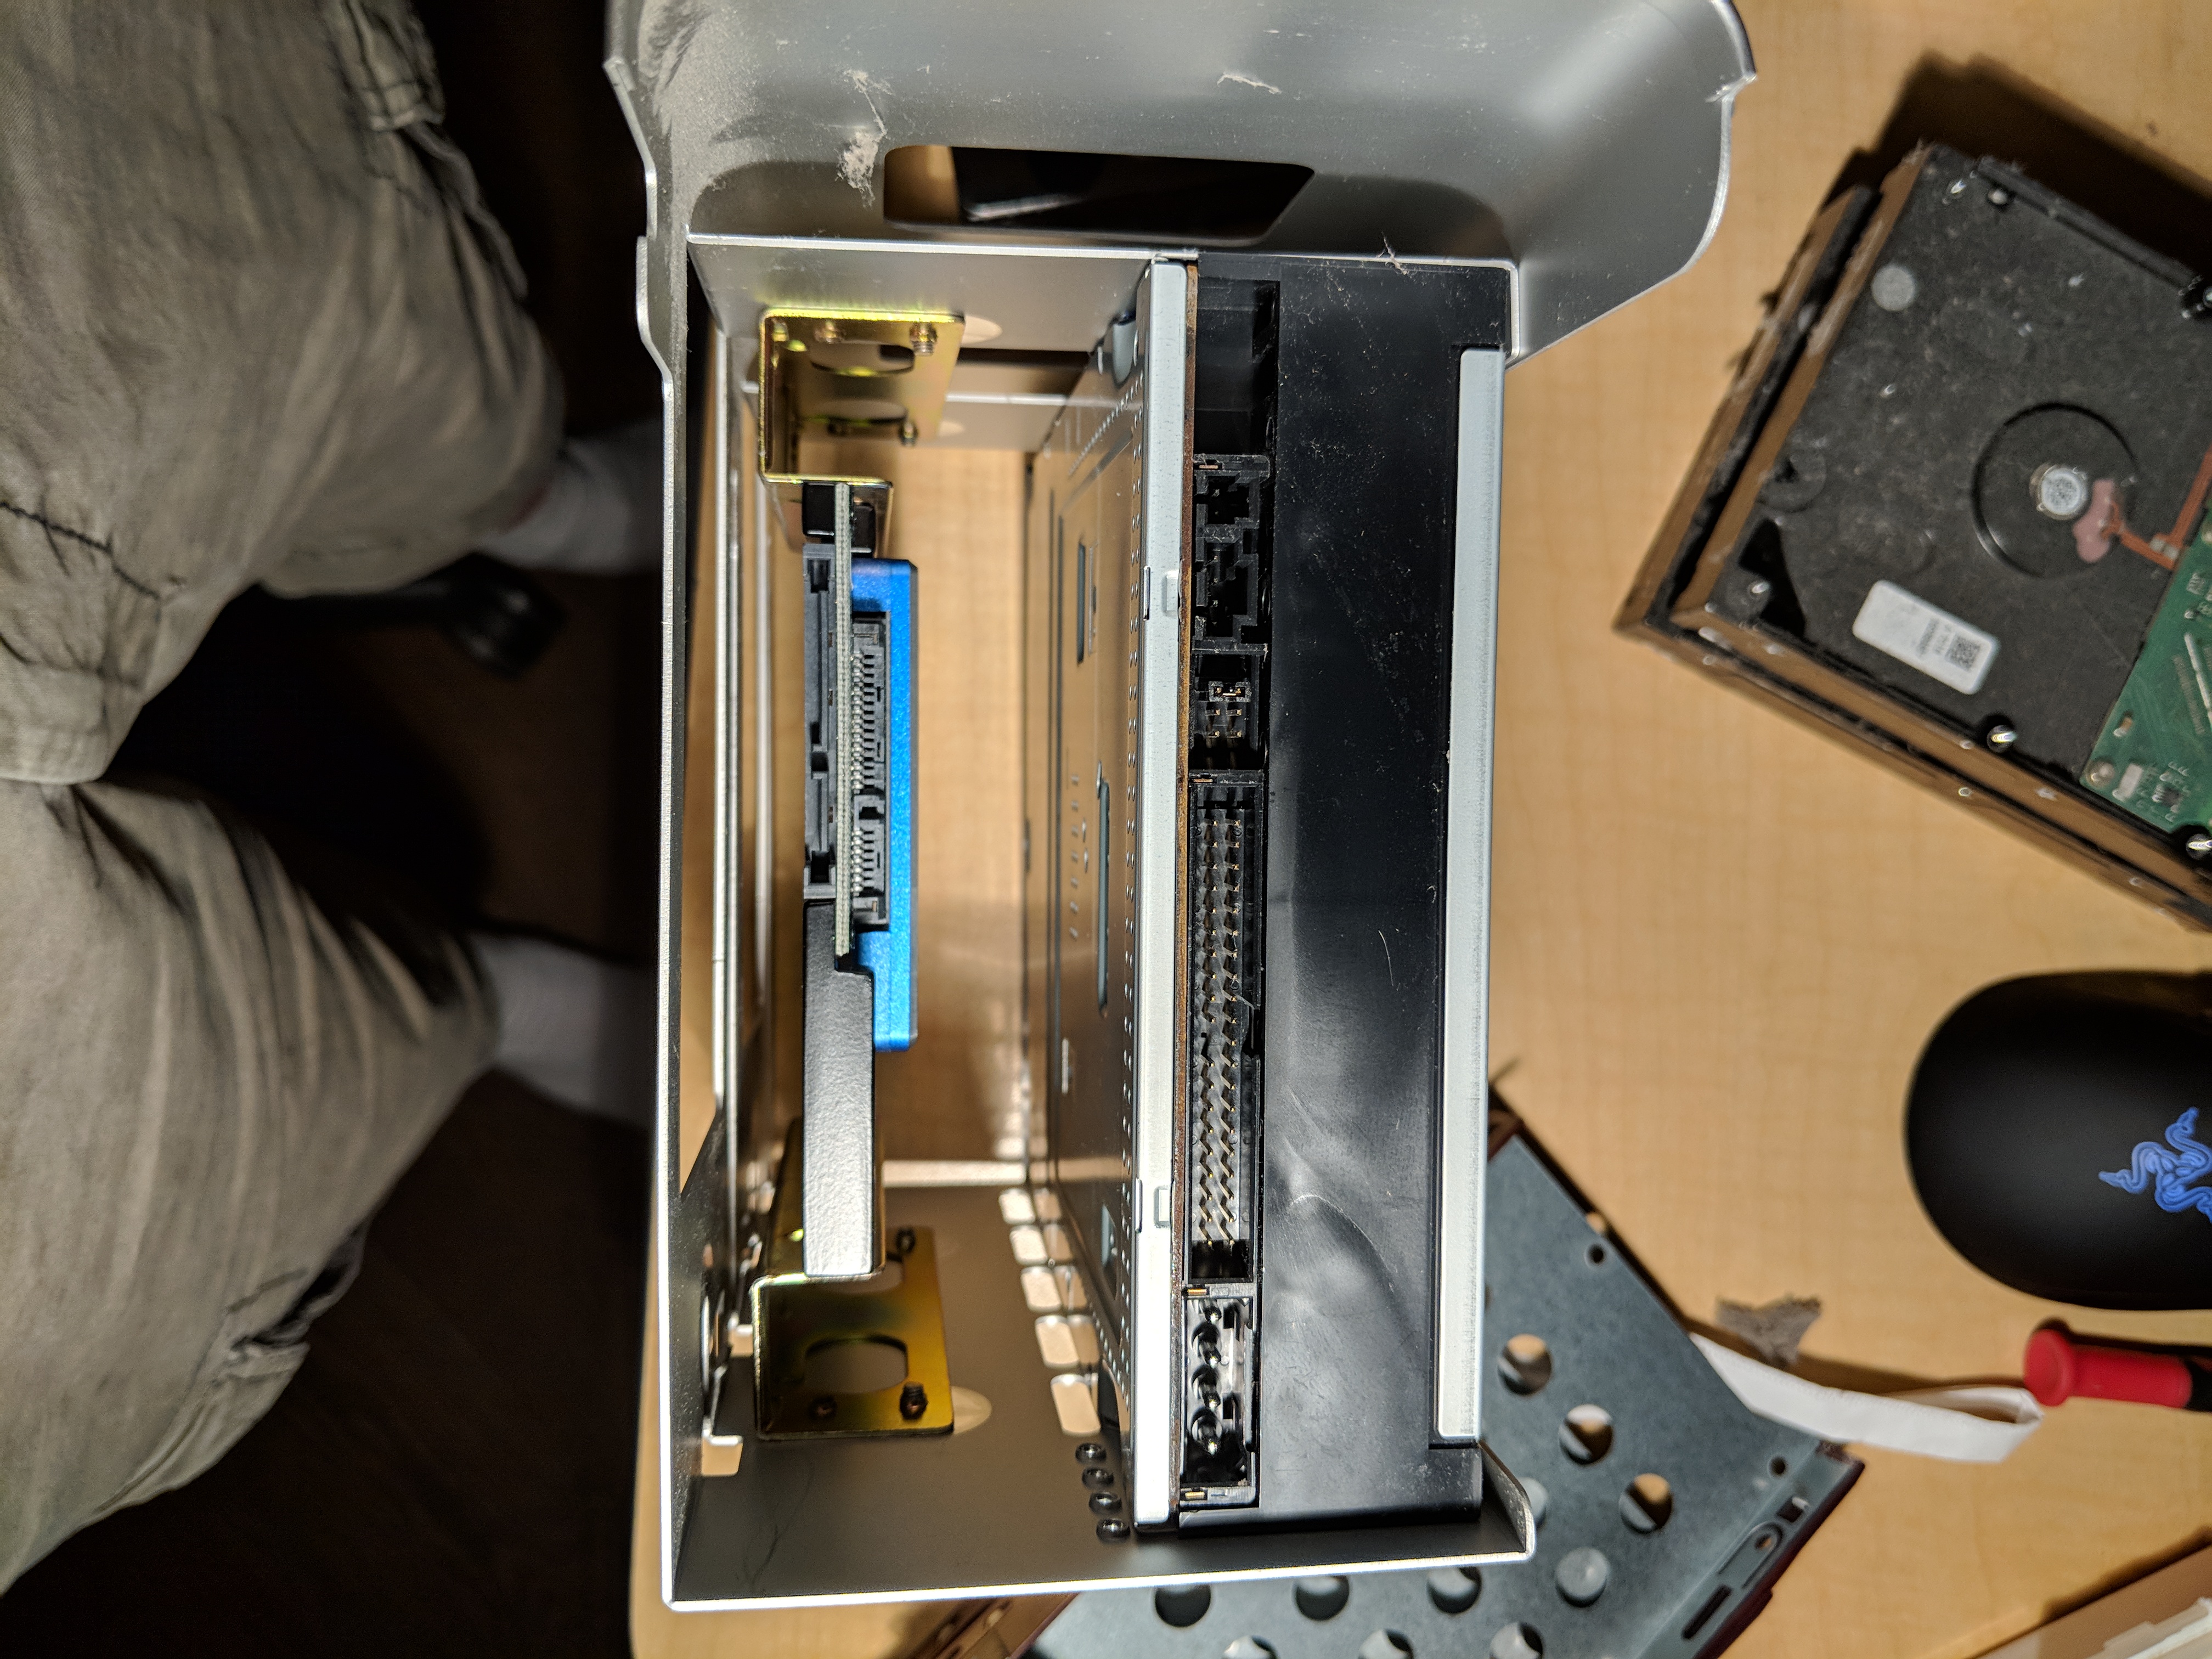
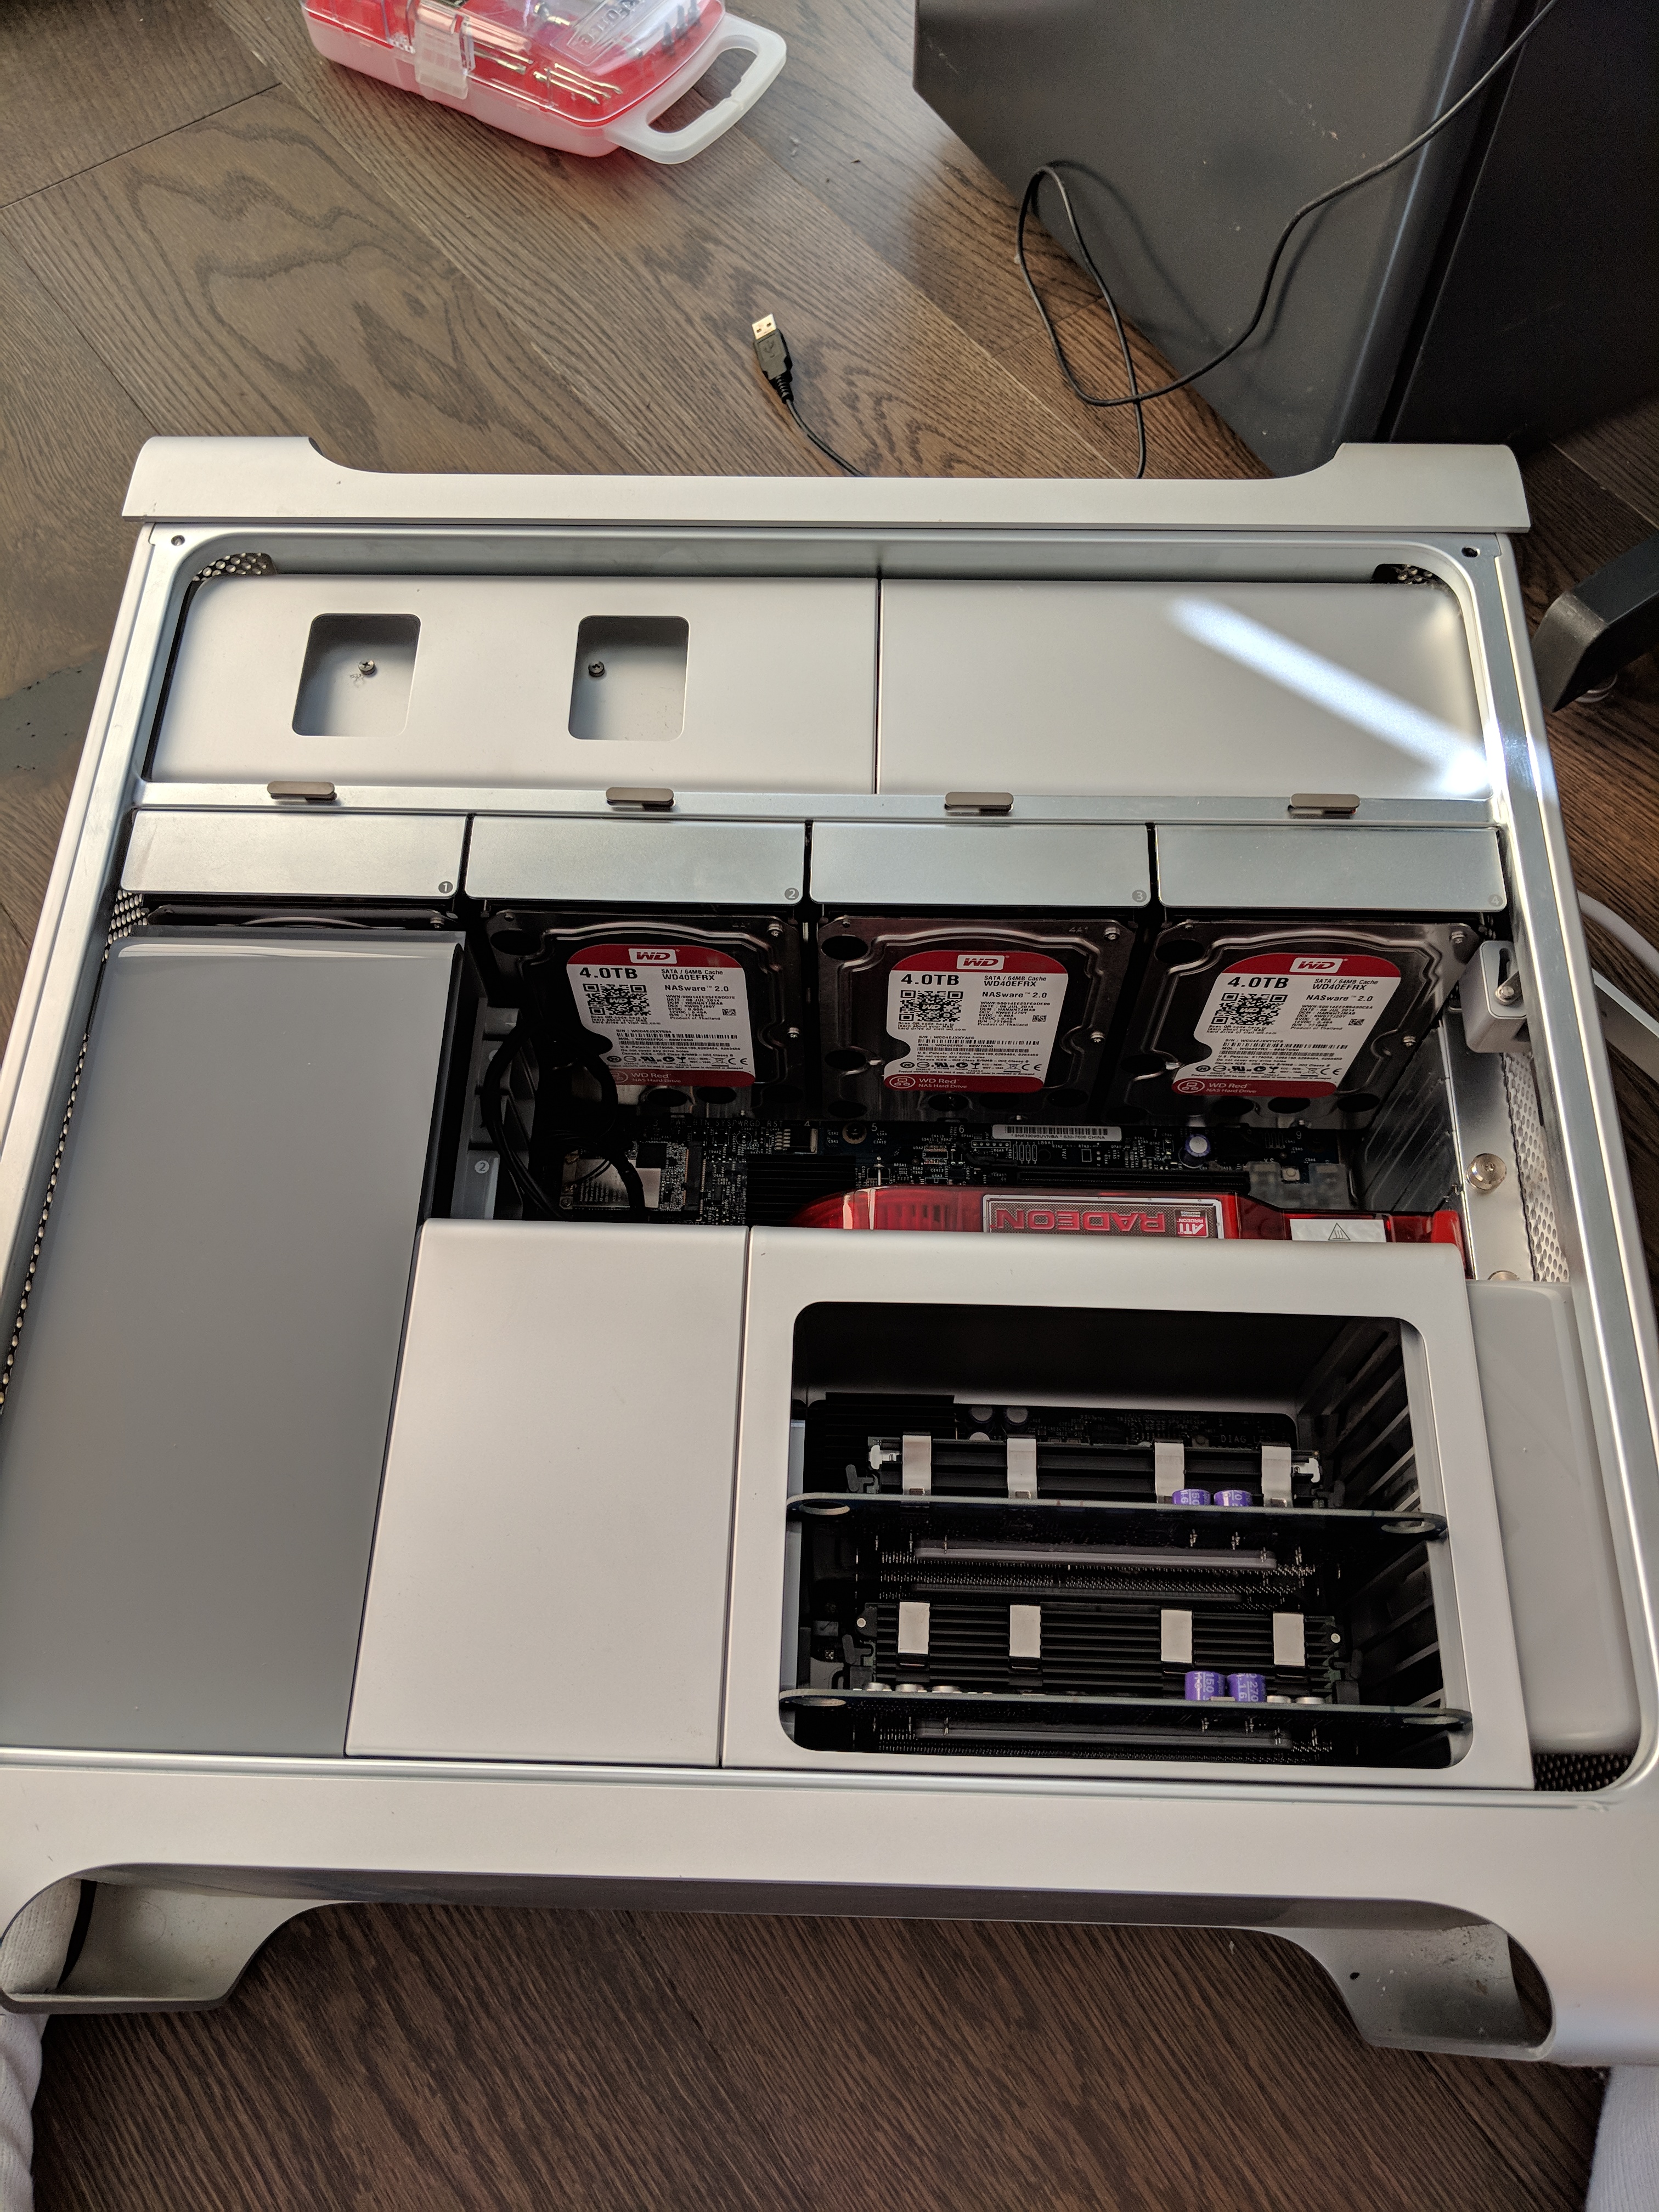
The Fry’s trip wasn’t a complete waste, because I also picked up some CPU thermal paste. With the heatsinks off and cleaned with some rubbing alcohol, it was time to put on some new thermal paste. Spreading the thermal paste is probably the most finicky part of the upgrade, but if you’ve done it a few times, it’s really not that difficult. Changing most other things on this machine, unlike in newer Apple systems, is really easy. Adding a new drive into one of the four exposed drive bays is even trivially easy. Just pop the sled out, connect a 3.5” SATA drive into the sled, and push it back in. You’ll need an adapter if you’re going to slot in a 2.5” drive, which is what I had originally done when I added the SSD drive. One really nice thing about the original motherboard, is that it also included extra SATA connectors for hooking up additional drives in the 5.25” bays. The system originally shipped with an Apple Super Drive (which would read and write both CDs and DVDs), and included room for a second drive in the bay, although it never was populated. The Super Drive uses IDE, so there is also a connector for it on the motherboard.
I actually have stacks of old 4TB Western Digital Red drives that are lying around from my old startup, so I figured why not upgrade the old 750 GB drives, and move the 240 GB SSD drive into the 5.25” bay. I had some old 3.5” to 5.25” converters lying around from the 4U chassis build, so I attached a pair of those to the 3.5” to 2.5” converter that the SSD drive was already sitting in. It’s not super pretty, but you can’t really even see the 5.25” bay once everything is put back together. The trickiest bit here was accessing the extra SATA-2 jacks and threading through the SATA cable. This requires removing the front fan assembly from the machine which first requires removing the plastic shroud over the CPUs as well as partially removing the memory bay. Since I had already done this to replace the CPUs it was easier to do both at the same time. The fan assembly is also really wedged into the system and required a bit of elbow grease and determination to get out, but once it is out, it’s pretty simple to thread the SATA cable from the 5.25” bay and connect it to the extra jacks.
For the 4x4TB drives, I originally figured I could run it in software RAID-5 (just like you can in Linux), however I discovered after going through all this work that macOS doesn’t actually support software RAID-5. This has left me in a bit of a quandary. You can purchase SoftRAID from One World Computing which does support it without having to add any more hardware, or, I could just buy a hardware based RAID controller. So far I haven’t decided which way to go, however I’m leaning toward the hardware solution since in theory it might actually be a little cheaper than shelling out full retail price for SoftRAID. Apple did produce a Mac Pro RAID card back in the day, so it might be worth picking one of these up second hand, but I don’t know if they are any good or not.
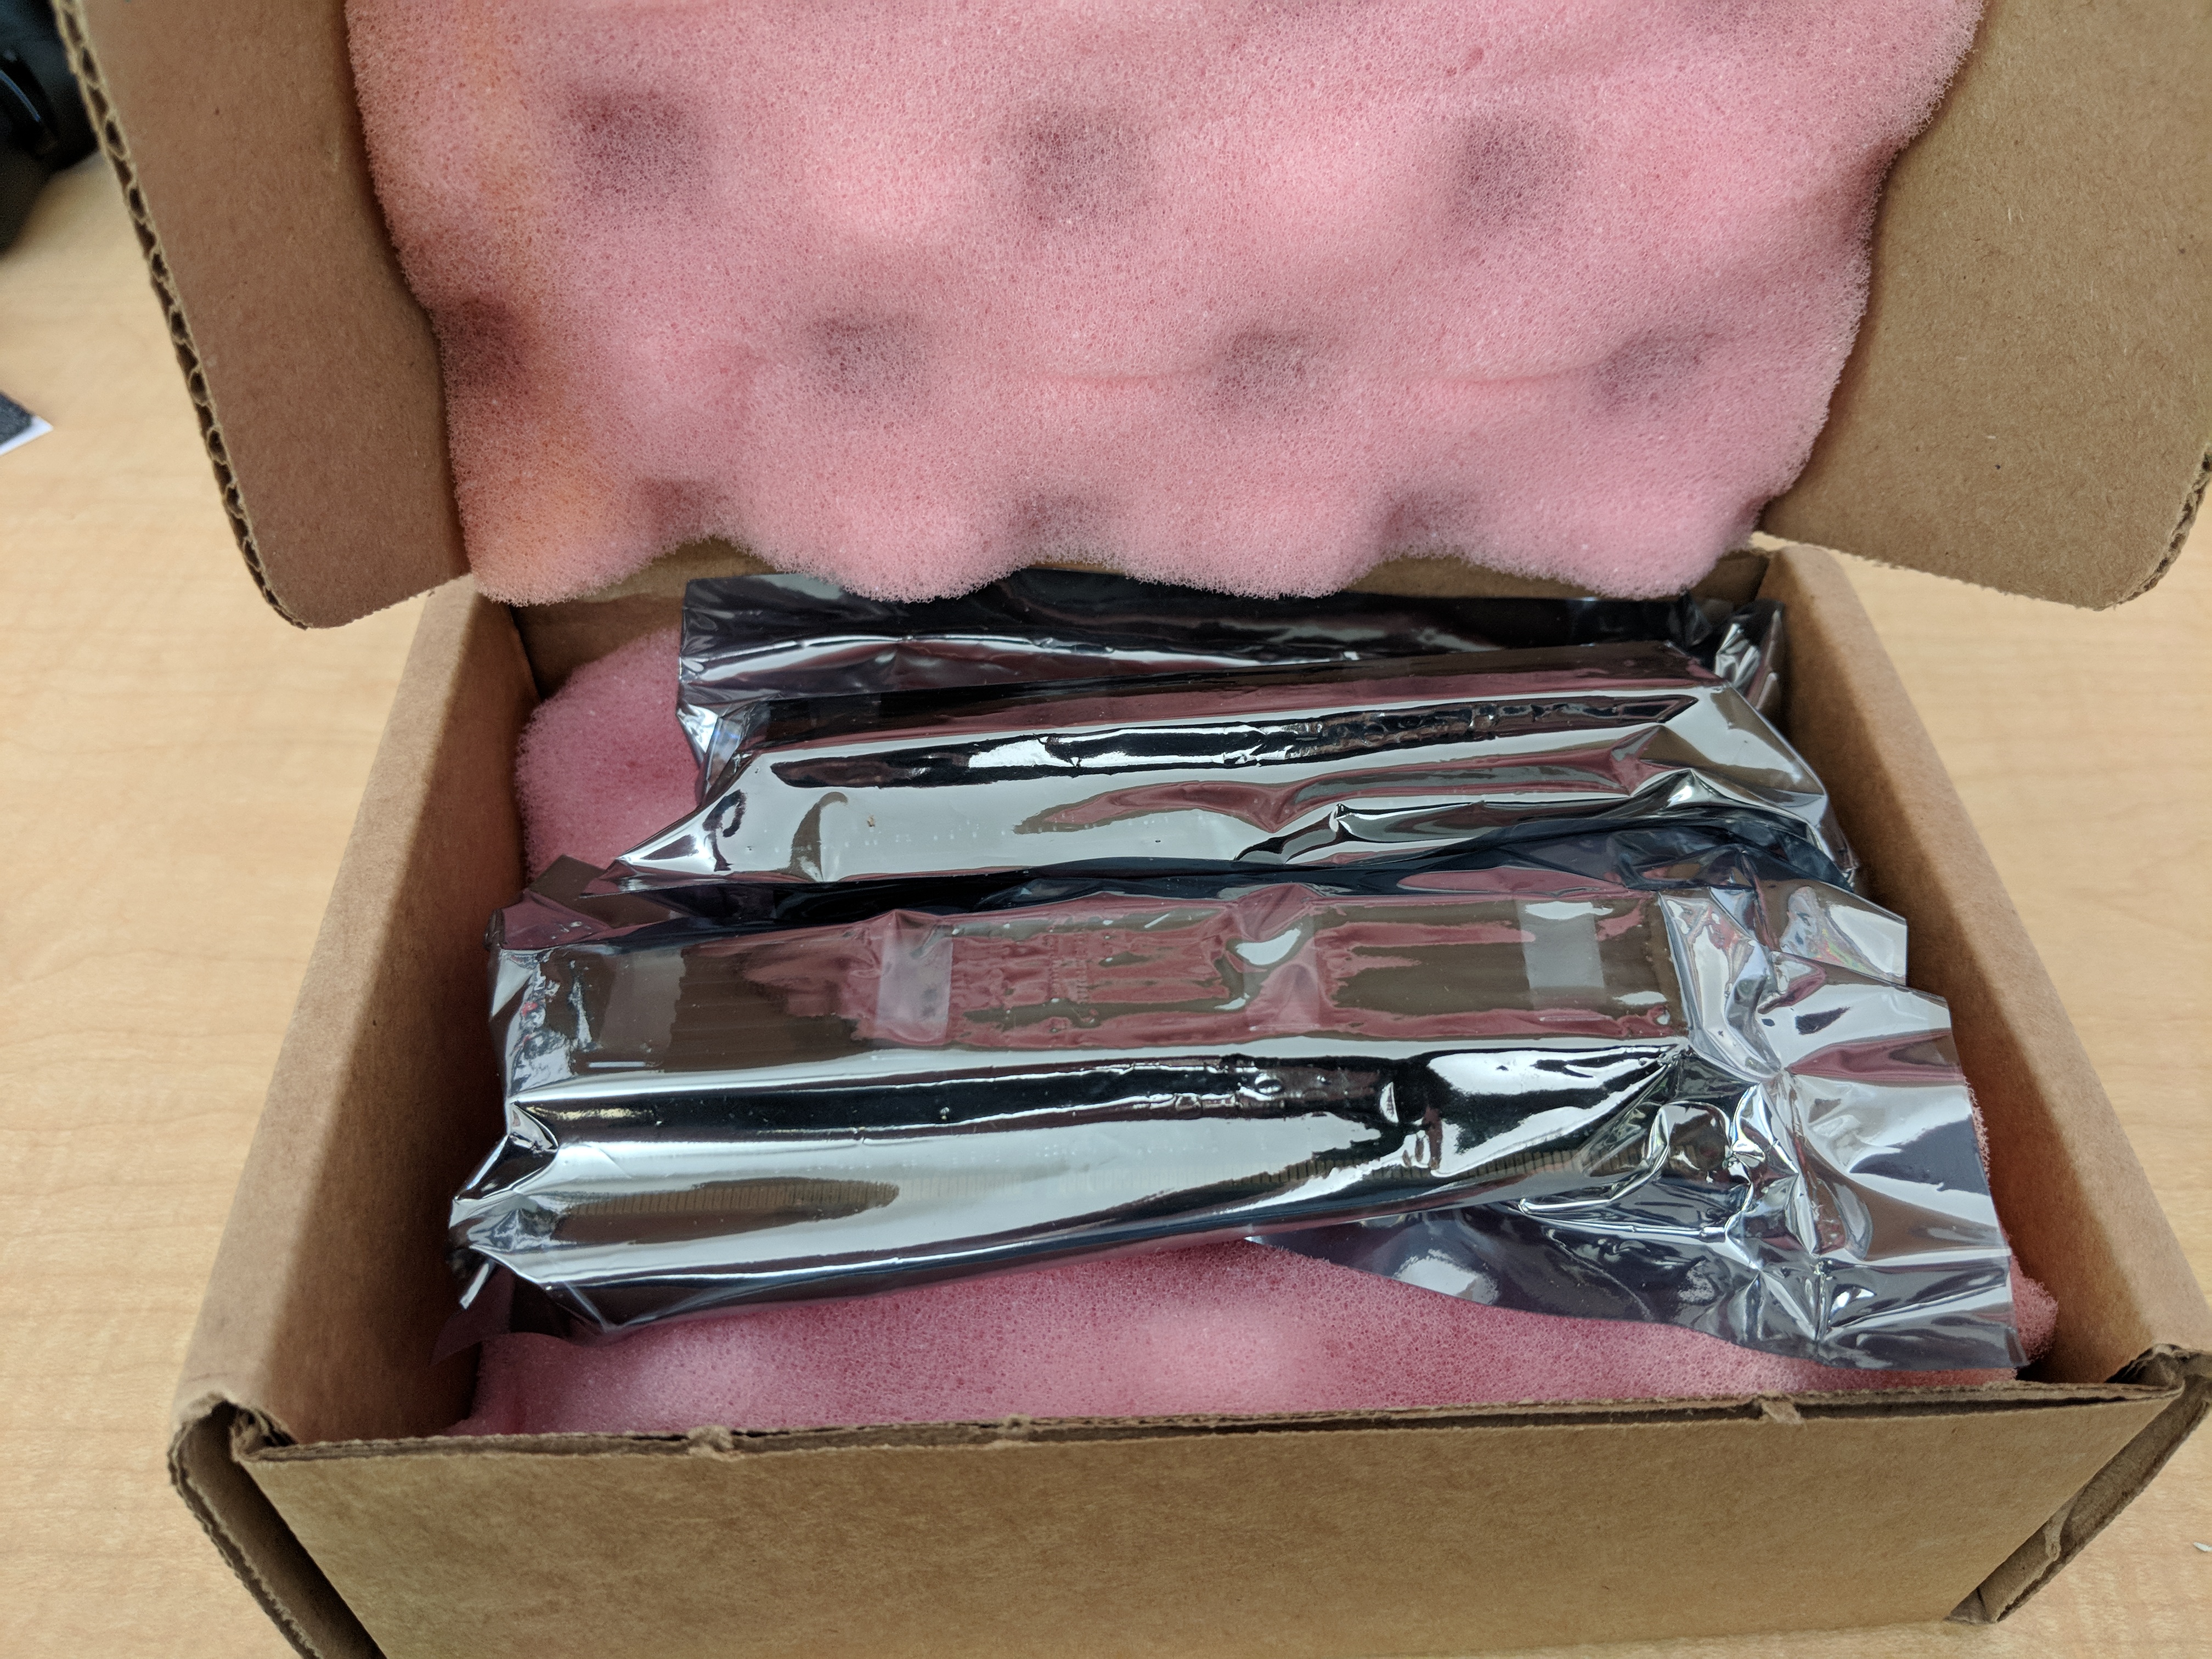
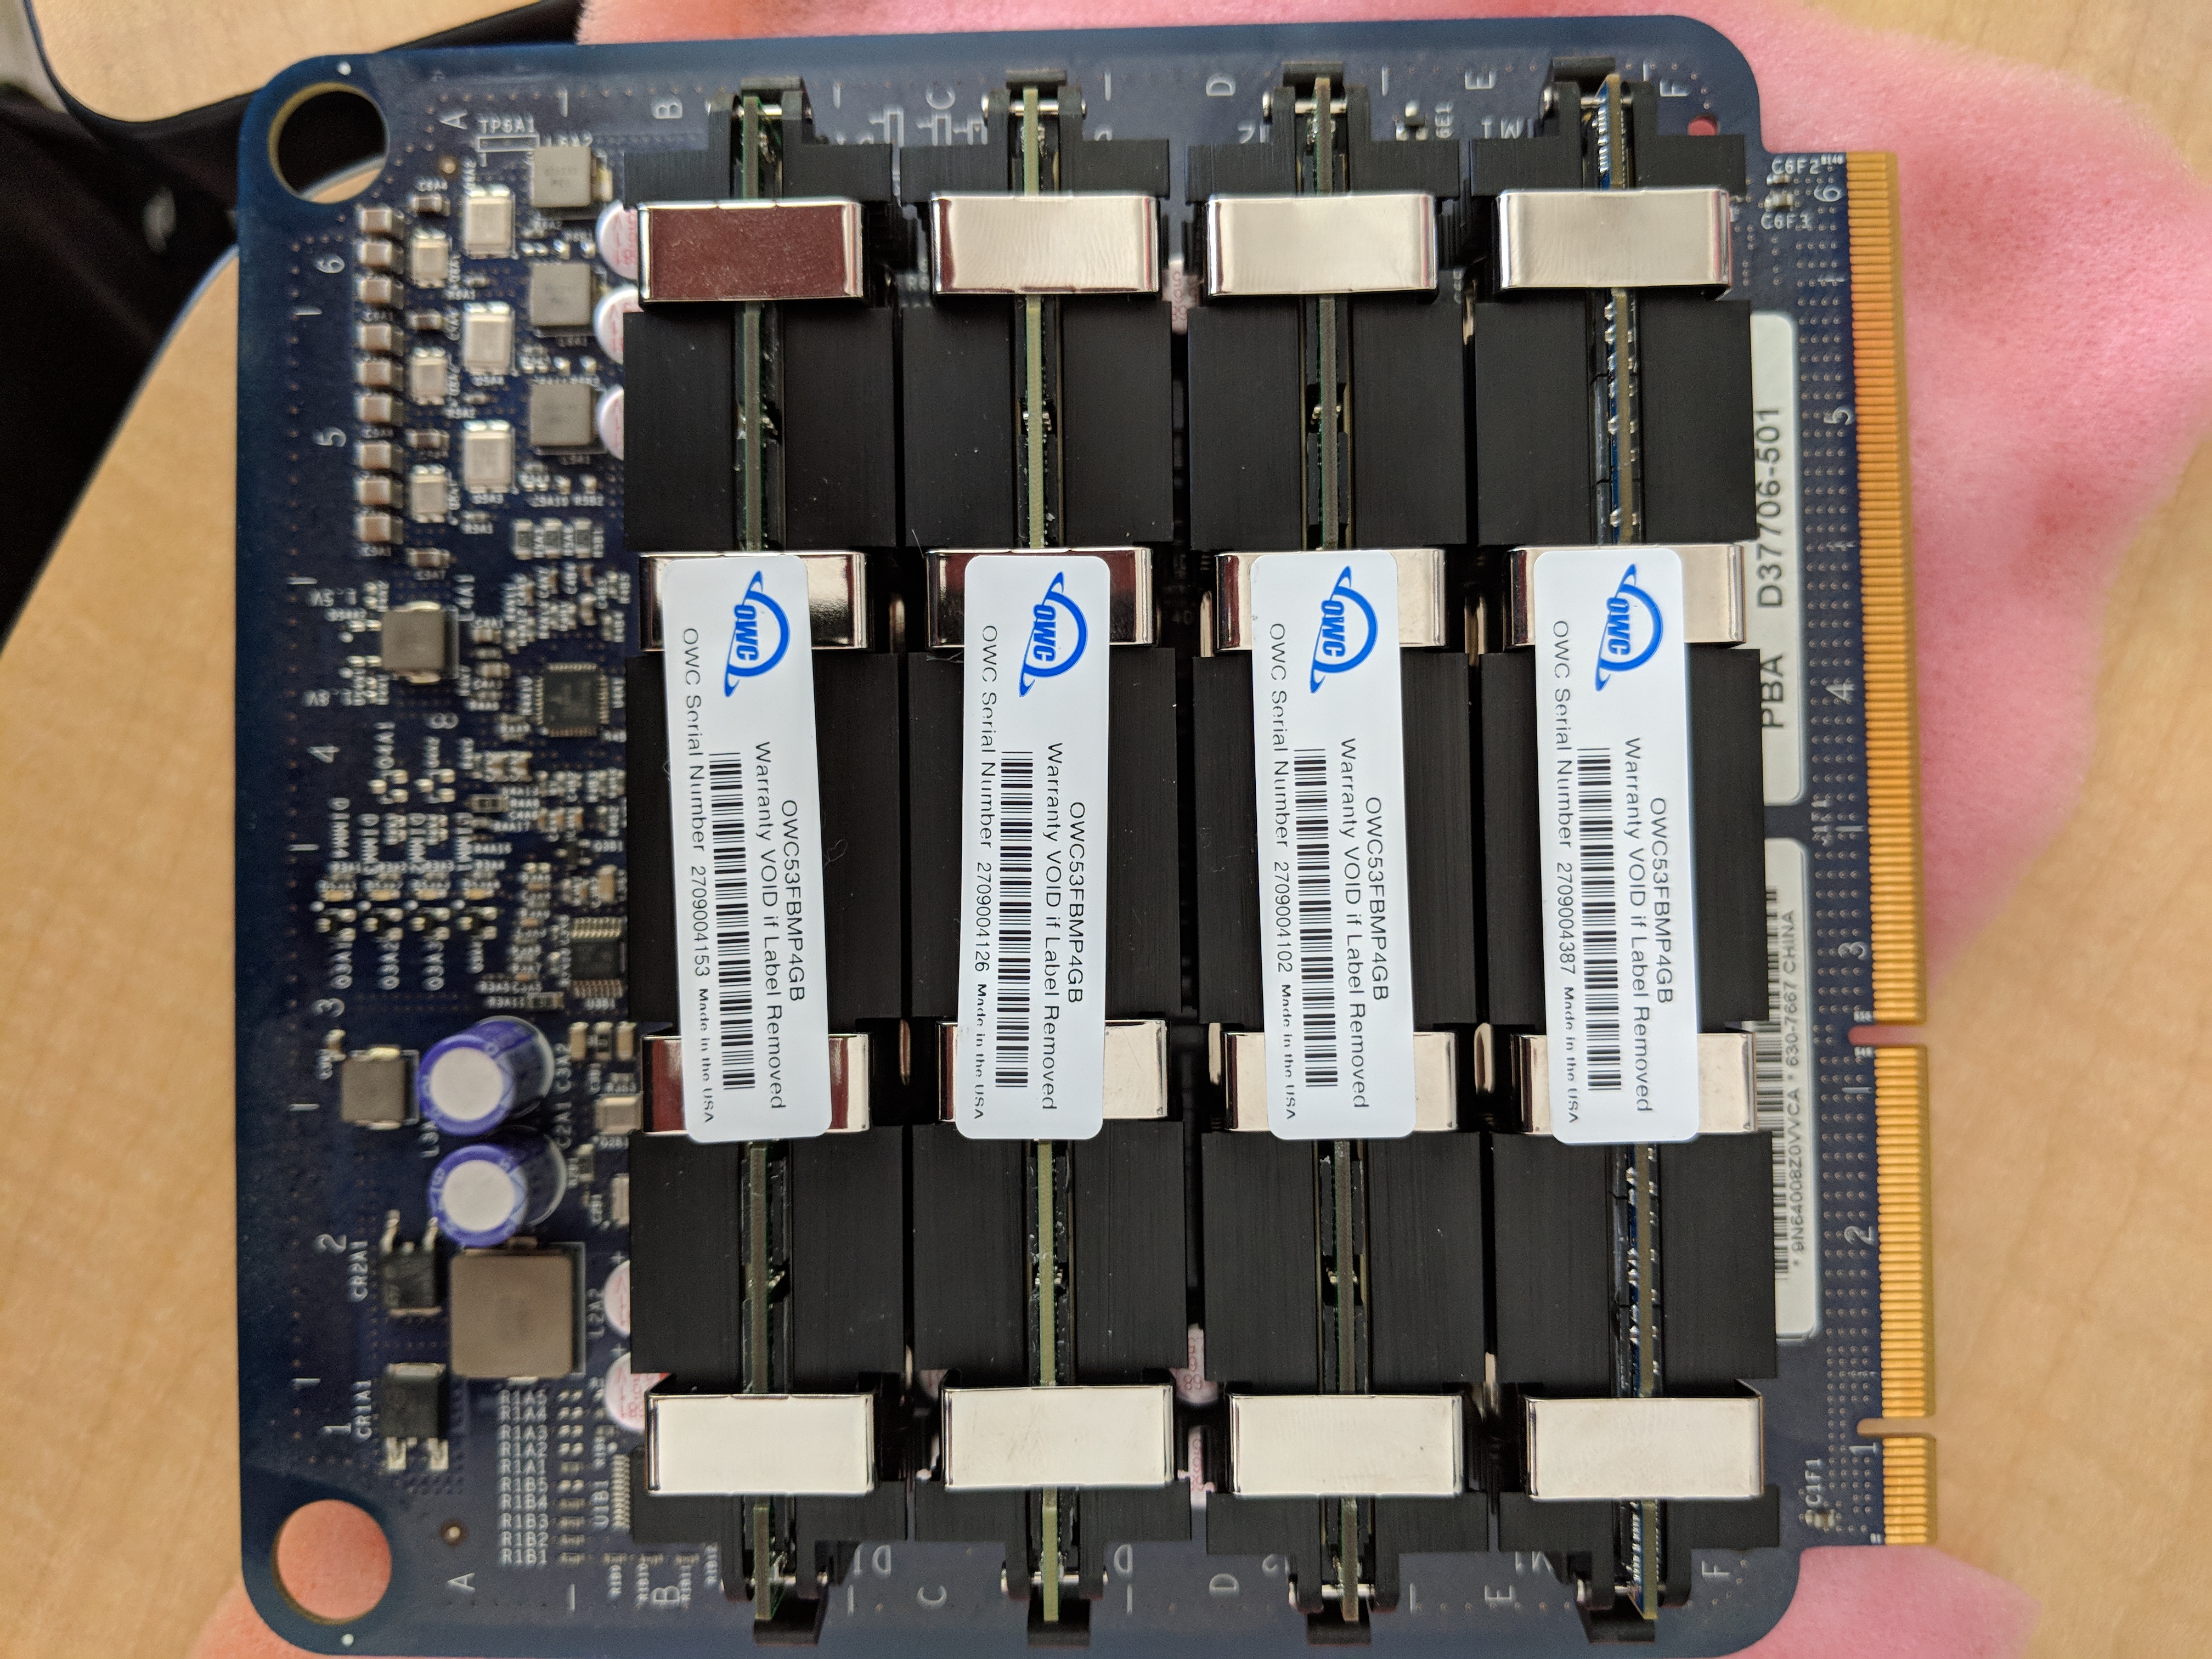
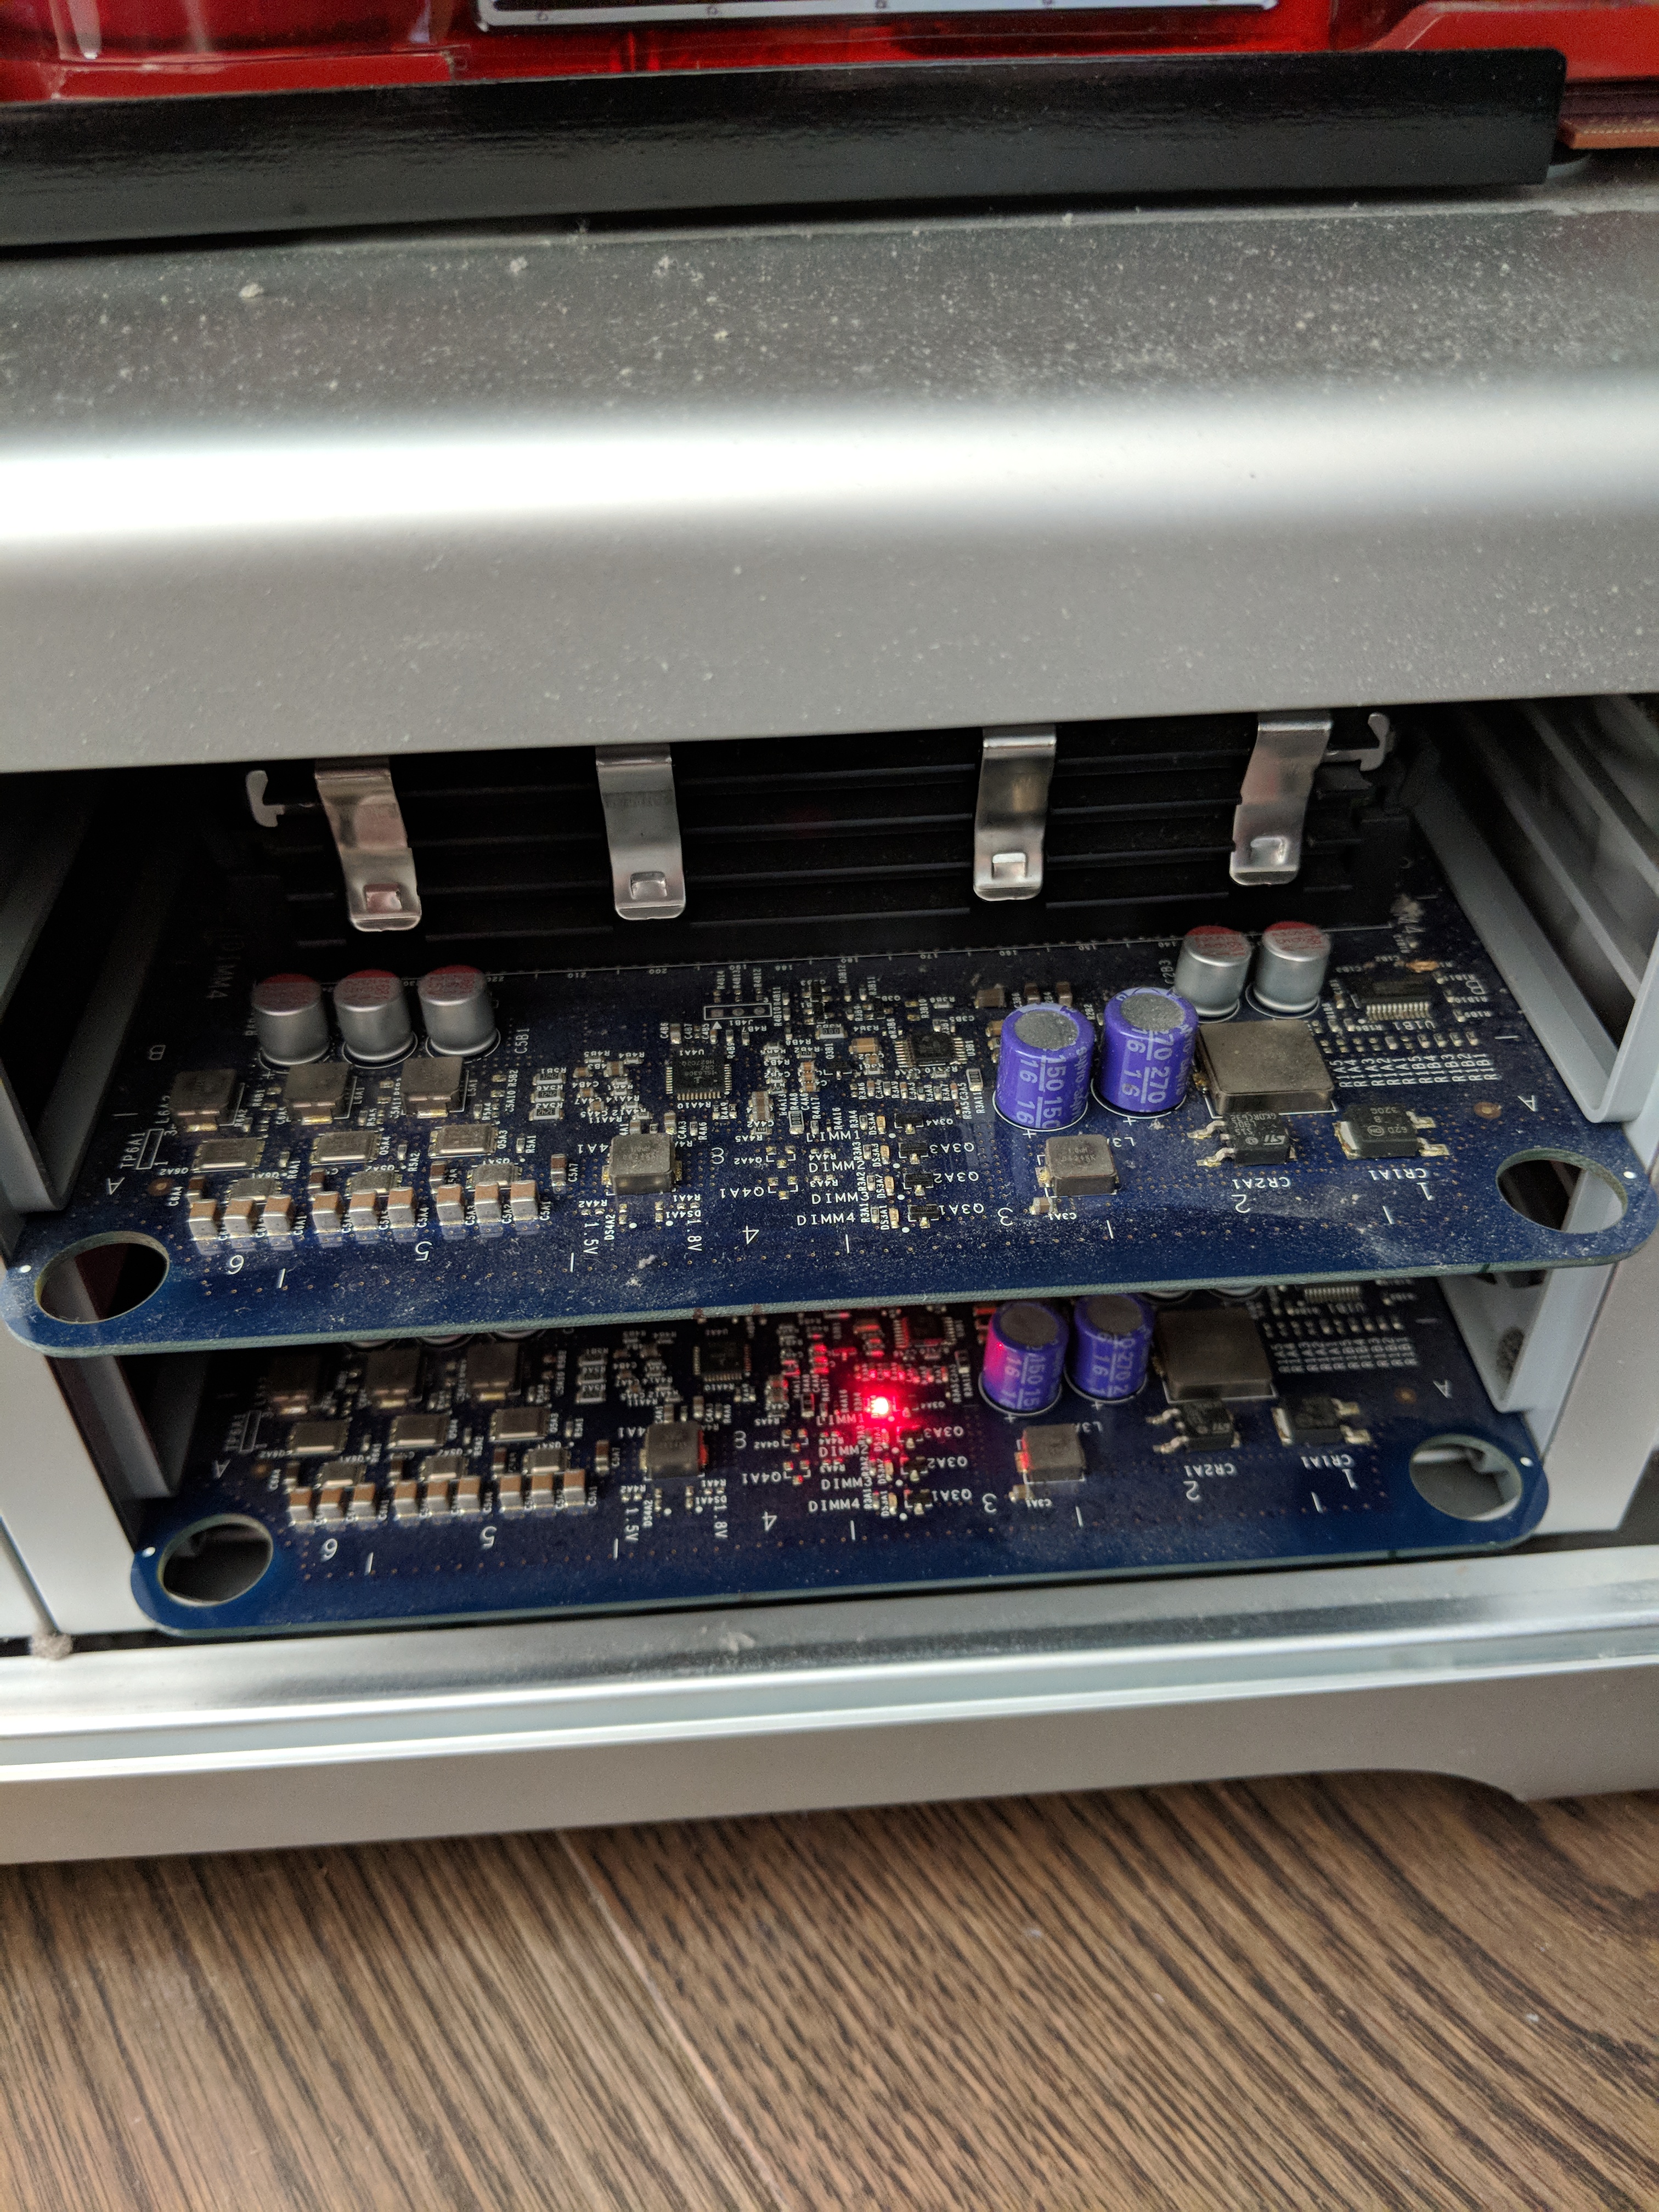
Much like swapping out the drives in the four main bays, upgrading the system memory is also trivially easy to do.It doesn’t require anything like removing the memory bay itself. You just pull out the memory boards (there are two of them), push in the new DIMMs, and power the machine on again. The boards themselves have LEDs on them which will signal if there is a memory parity error or not. Originally Apple claimed that you could only put 16GB of RAM in the machine, but in reality it can easily address up to 32GB of RAM, and if you upgrade past OSX Lion, you can apparently even get 64GB of RAM to work in some configurations. I already had 16GB of RAM, so figured upgrading to 32GB of RAM would be sufficient. This actually ended up being the most expensive part of the upgrade, and the chips that I bought from Other World Computing were not exactly matched to each other, and I was initially a little worried because the parity error LED lit up. I ended up reseating the chips and the error went away, and so far it looks like the everything is behaving correctly.
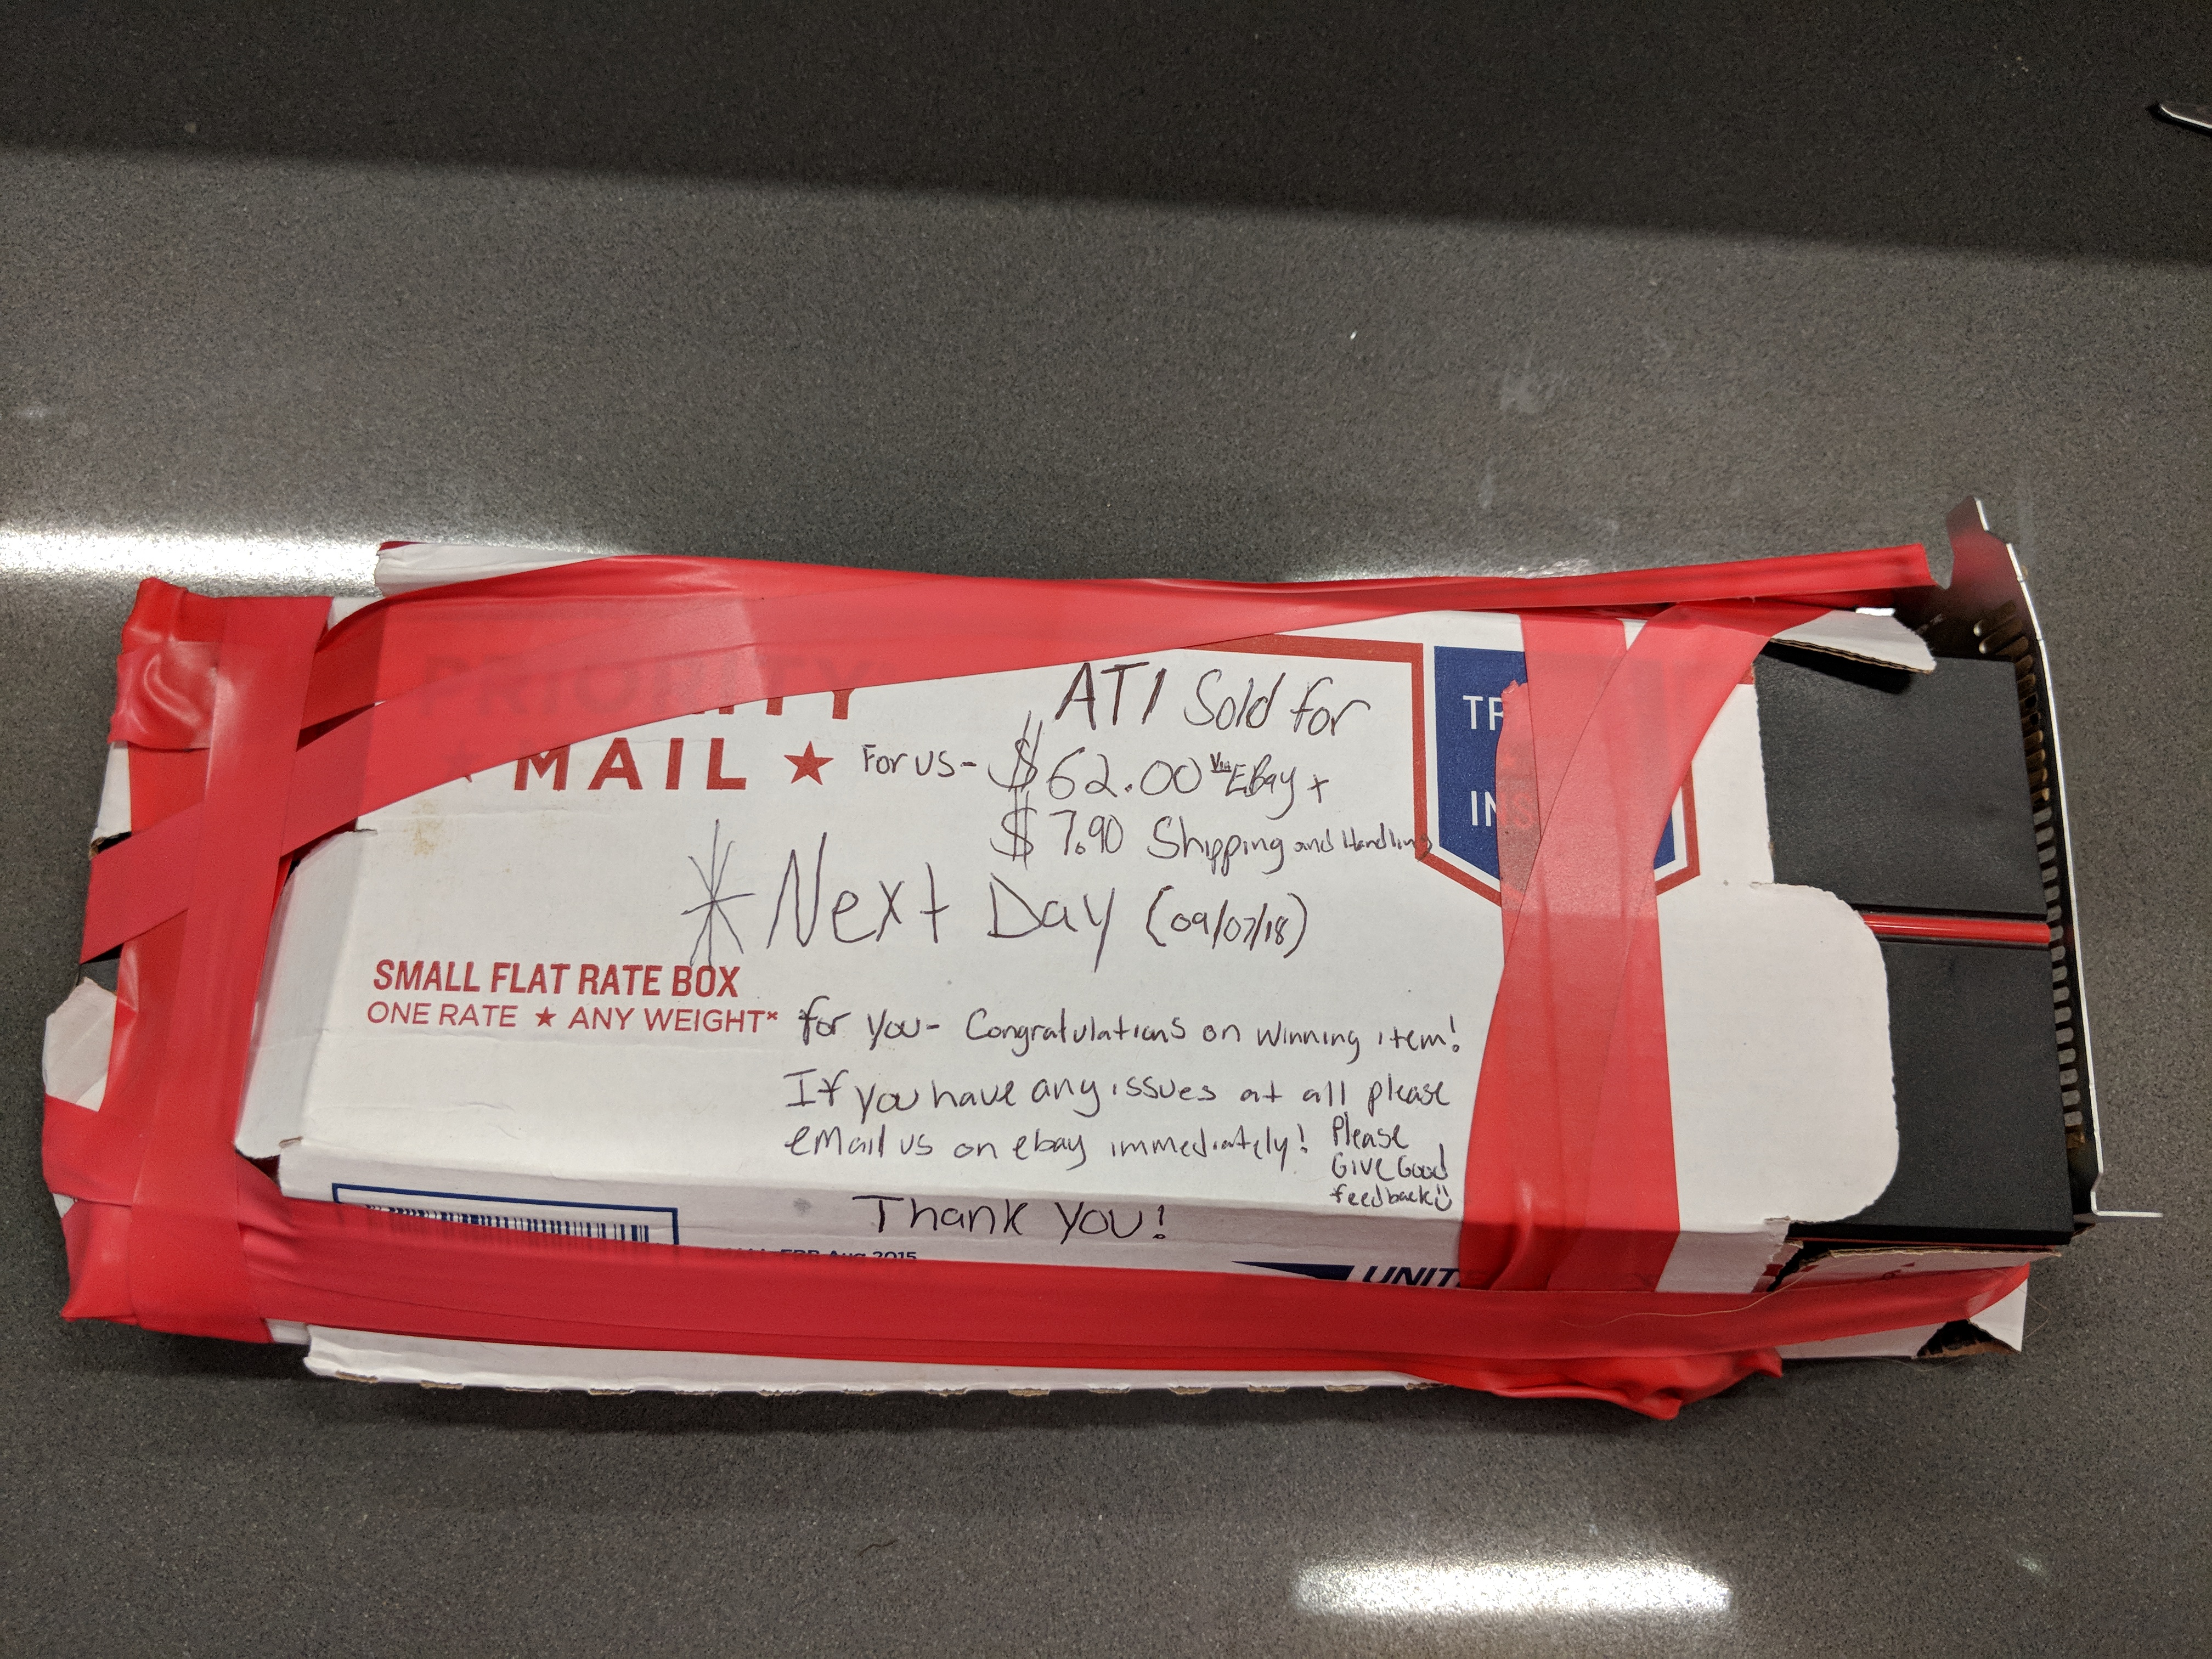
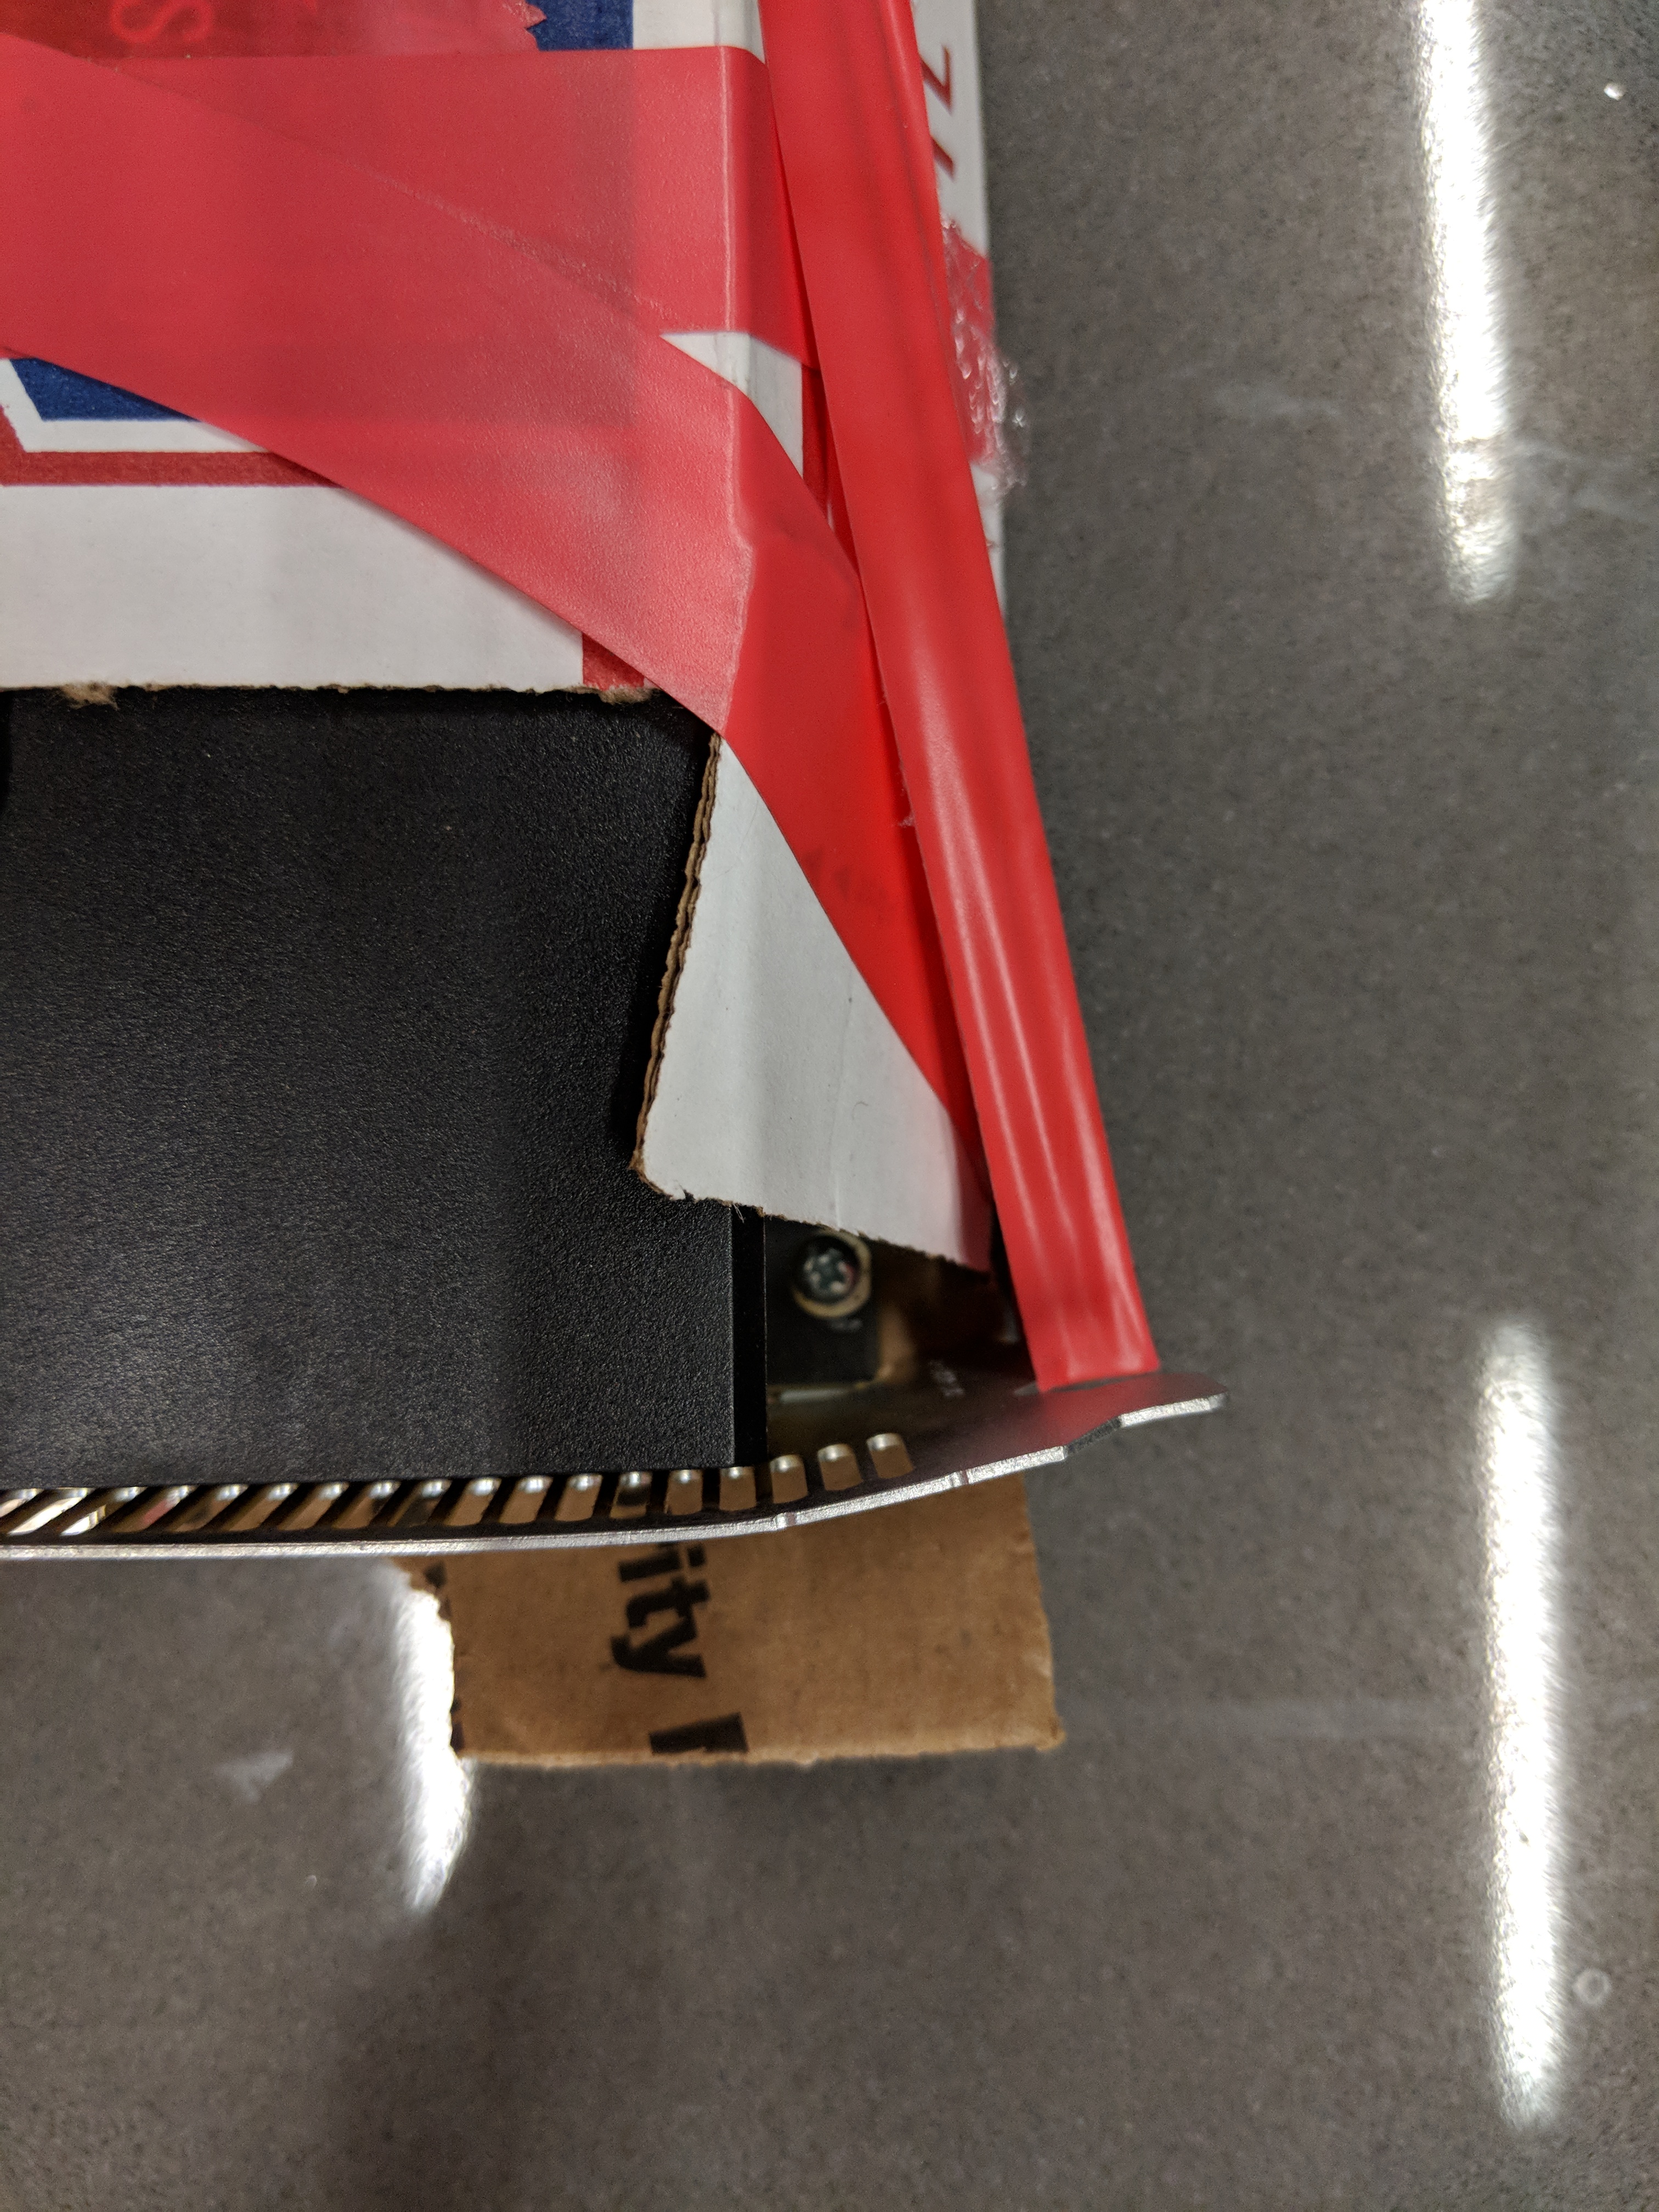
One part of the upgrade did not go so well though. I ordered an ATI Radeon 5770 GPU off of Ebay to replace the older Radeon 4870, but the card unfortunately didn’t work and the machine wouldn’t boot when I powered it up. I also accidentally knocked off one of the little clips on the end of PCI-e slots that holds the card in place. This isn’t really a huge deal as the GPU still fits in and is pretty snug. I’m not going to use this machine for any heavy gaming, so I think I’ll just stick with the Radeon 4870 for now.
So was all this work worth it? It was really fun rebuilding the machine, but there are a few things that I’m not super thrilled about though, like not being able to get it to work with Sierra, High Sierra, or Mojave. The Xeon CPUs are also too old to support Extended Page Tables which means that it can’t run Docker Desktop, so I’ll have to see how well the newer versions of VMware Fusion work to be able to use Docker in a Linux VM. That said, I spent less than $200 on the upgrade, although I did have a lot of the parts on hand. Even without going all out like I did on some things like the 16TB of drives, and only putting 16 GB of RAM in it instead of 32 GB, you could build one of these machines for around $250, which is pretty decent if you just want a Mac to futz around with. For a little extra money though you could get a Mac Pro 4,1 is also very upgradeable, and can work with much more modern software. If you want a cheap Mac, that would be my recommendation.